Part 21 - Adding a GUI.
This is a coin pusher… shall we start scoring? Or recording how you've profited?
First we need to put on screen your current cash.
In the Hierarchy, create a UI > Panel
This creates a stupidly large object on the screen that Unity decided to make hard to work with, but we have to deal with it.
It's added a Canvas object, this is a 2D object, which renders the UI objects. In its current for it is designed to "overlay" (render) on top of the output of the currently rendering camera. Which is what we want. There are other options, you can render to a specific camera, or put a canvas in 3D space, like a marker above an object. But like I say, the default mode is what we want.
With the "Panel" selected, move the mouse over the Scene view and press 'F' to focus the view on the panel.
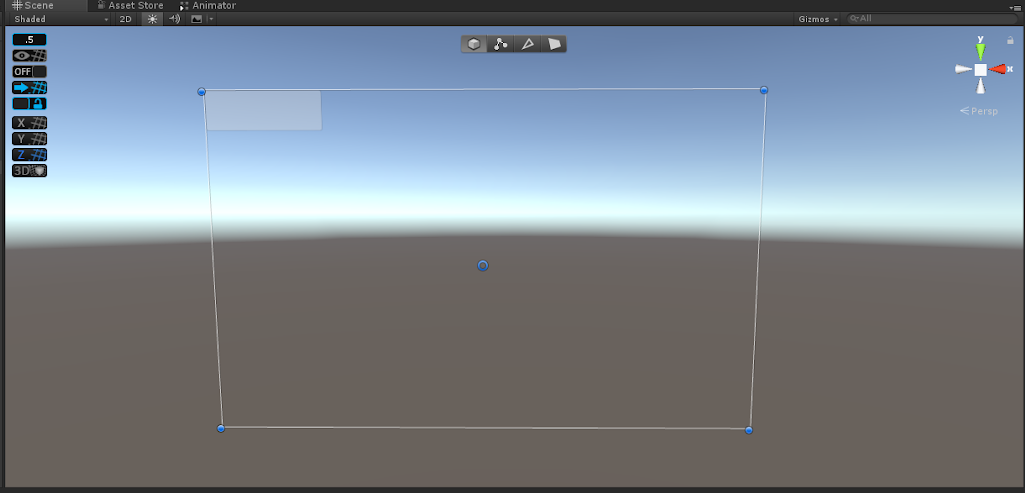
The panel, by default, takes up the entire screen space. We really don't want this. Select the "Rect Tool" in the top-left tools panel and resize the panel into the top-left corner. Also I disabled "ProGrids" here as it was a little annoying.
I roughly have the following when I've finished:
Checking the 'Game' view it looks like
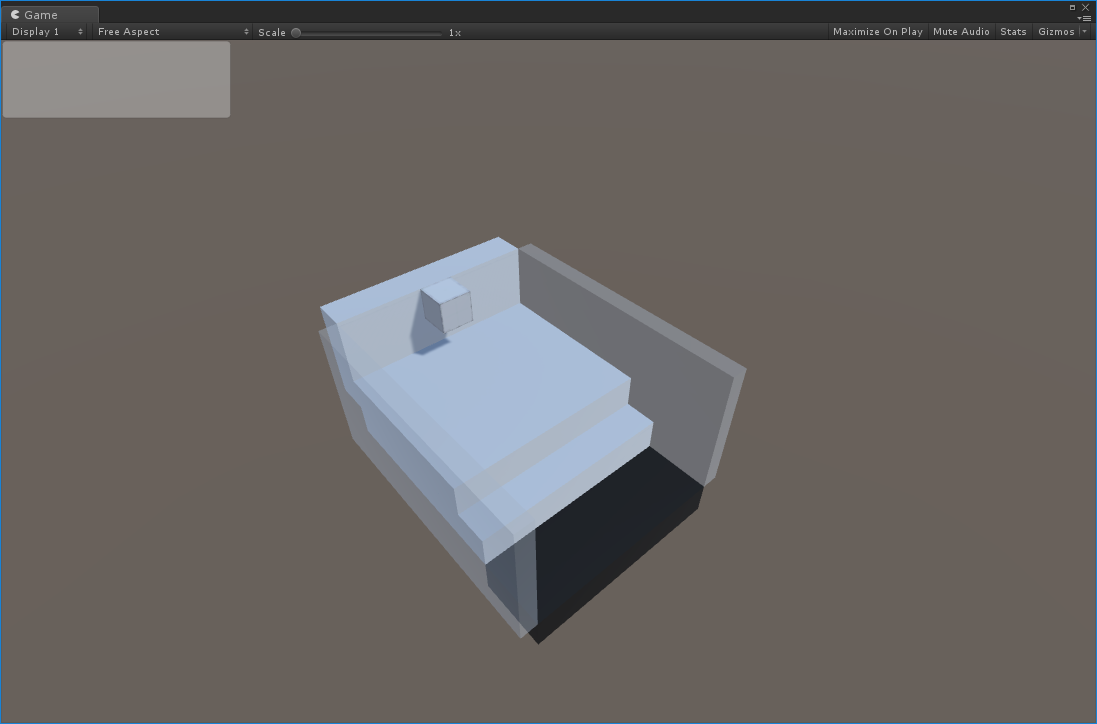
Just as a good idea of how it'll look.
However. There's a problem. Resizing the Game view, so there is less height…
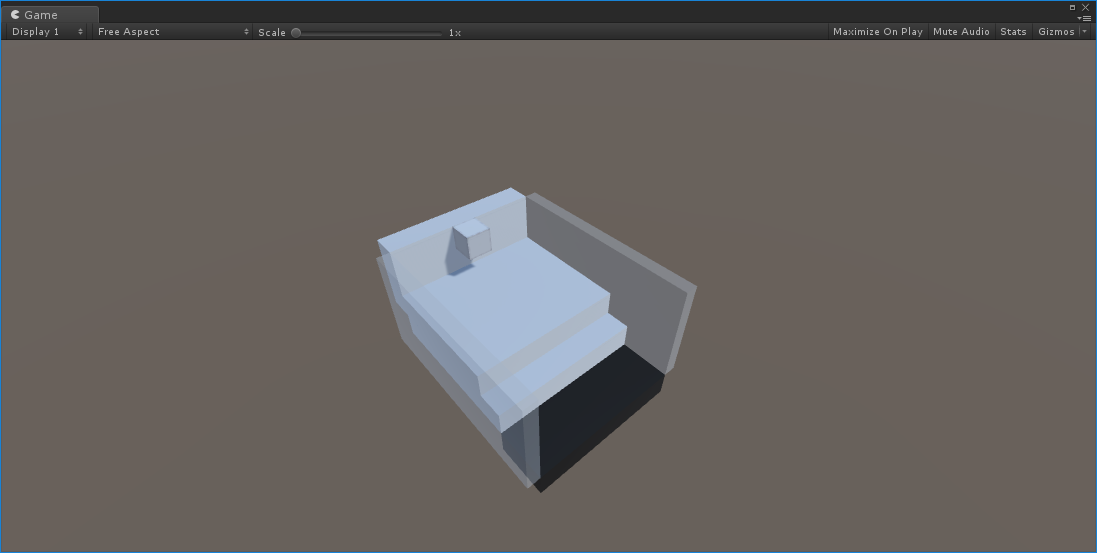
The panel goes away. And in the Scene
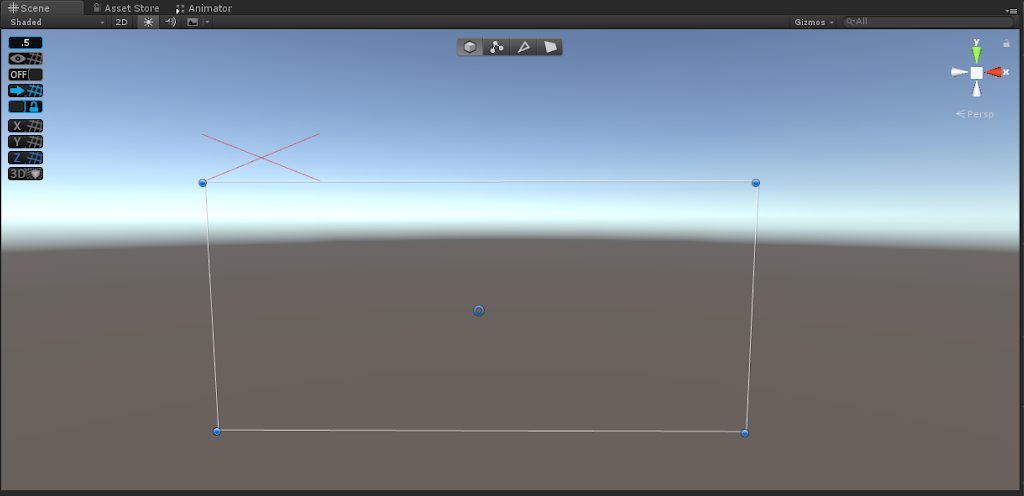
The problem is all to do with how the Panel is anchored relative to its parent object (the Canvas in this case).
When a UI object is created, the corners can be set to fix themselves relative to different sides of the parent object.
The default setting for a panel is as shown below

"Stretch" The different corners will keep their relative position to their parent corners. So the top-left will stay the same relative position from the parent top-left, the top-right from the parent top-right and so on. This will mean that, as we have seen, an object doesn't know its own size, just it's relative corner positions and can end up overlapping itself.
A better option for this object, given it is in the top-left, is the preset called "top-left", Click on the "anchor" icon

It presents you with a list of presets
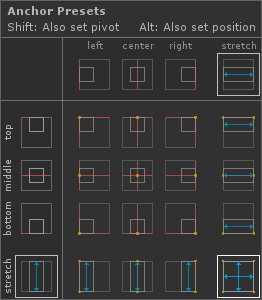
The one we want is

The option of "left" and "top"
This will fix the top-left corner of the UI component to the top-left corner of it's parent and give the component a height and width which is fixed.
When resizing the game window now, it may move during the resize process, but once resized, the component will put itself back to the proper position again.
Now we have the panel in position, let's add some text.
Right click on the Panel. UI > Text
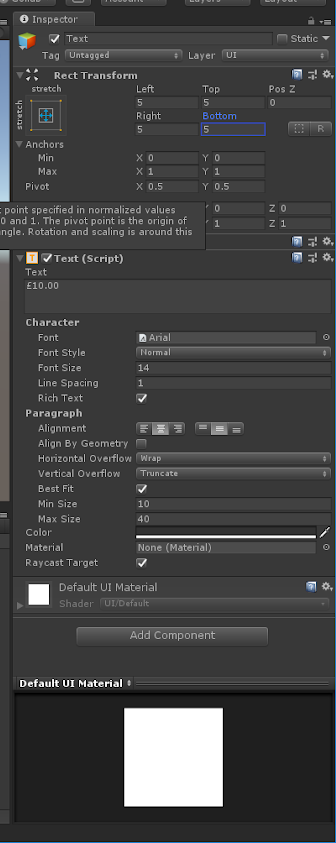
It's gonna be small. Change the Text property in the Text Component to £10.00 as a placeholder so we can see it. Enable "Best Fit". "Change "Alignment" to be both aligned horizontally and vertically.
Finally, change the "Rect Transform" as we did before, using the anchor presets to "Stretch" this time, so it stretches, and change the "Left" "Right" "top" and "Bottom" all to a small value, like "5" so that it more-or-less attempts to fill the panel.
The full configuration of the Text object should look something like
And looking at the game screen it should look a bit like
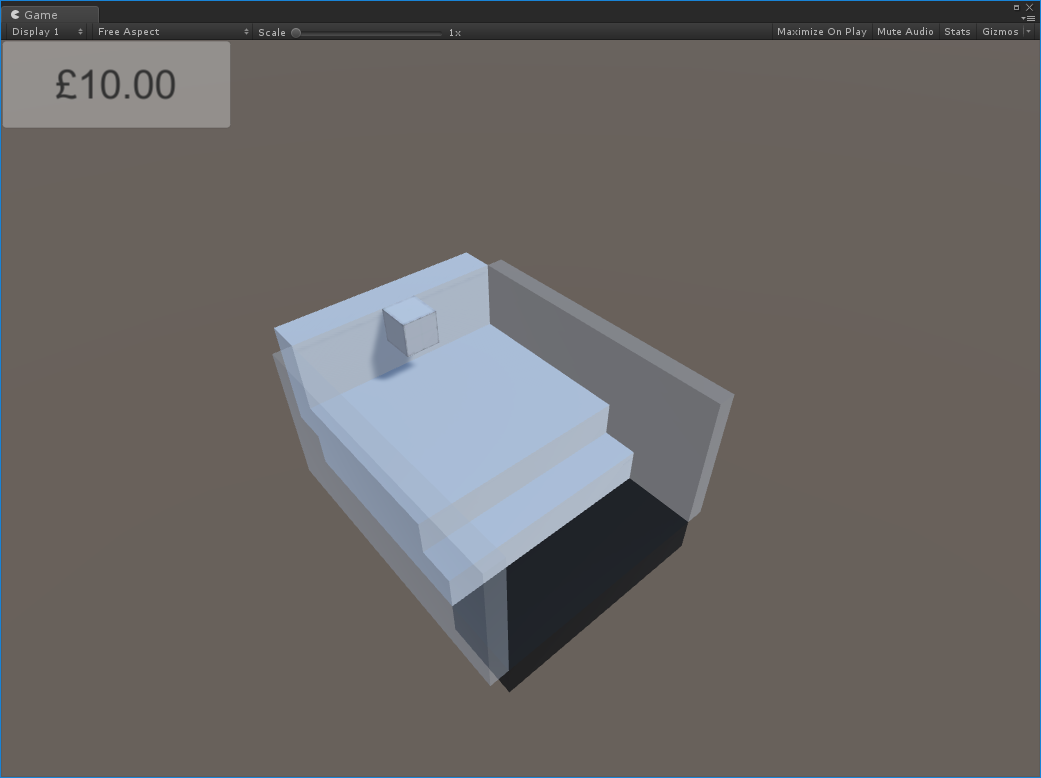
If you want to change the colour of the text, do so, it's not going to make much difference.
We have the basics for display the score now. Next we will actually use it…
Git respository: https://bitbucket.org/hiveit/unity-tutorial-coin/src/017_AddingUI/
More posts in this series.
- Part 01 - Installation
- Part 02 - Concepts
- Part 03 - Navigation
- Part 04 - Git and Unity
- Part 05 - Building a project
- Part 06 - Adding some plugins
- Part 07 - Creating some objects
- Part 08 - Physics
- Part 09 - Pushing things & animation
- Part 10 - Pushing coins
- Part 11 - Custom Scripting
- Part 12 - Spawning things
- Part 13 - It is still too fast
- Part 14 - Coins are piling up
- Part 15 - Materials
- Part 16 - User control
- Part 17 - Keyboard input - Fire
- Part 18 - Keyboard input - Movement
- Part 19 - Deleting Coins
- Part 23 - Scoring links with events
- Part 24 - Refining the Game - Part 1
- Part 25 - Refining the Game - Part 2
- Part 26 - Refining the Game - Part 3
- Part 27 - More refinements
- Part 28 - Slowing the user down
- Part 29 - Some more changes