Part 11 - Custom Scripting.
We need more coins!!!! Time to do some
Custom Scripting!!!!
We want to be able to add some coins, automatically, to the scene. Let's make a script to do that.
But first we need to do something to the coin. We need to create a 'Prefab' (see early on for the description of these) from the 'coin' object.
Go to the project window, Select the "Assets" folder, Right click. Create > Folder name it "prefabs". It's name isn't severely important, but it's going to contain Prefabs, so it's useful to call it what it's going to contain!
Select the folder on the left, or double-click on it to open it.
Now. The 'coin' object is in the Hierarchy window. Drag-and-Drop it into the "prefabs" folder. The view that should be currently saying "This folder is empty"
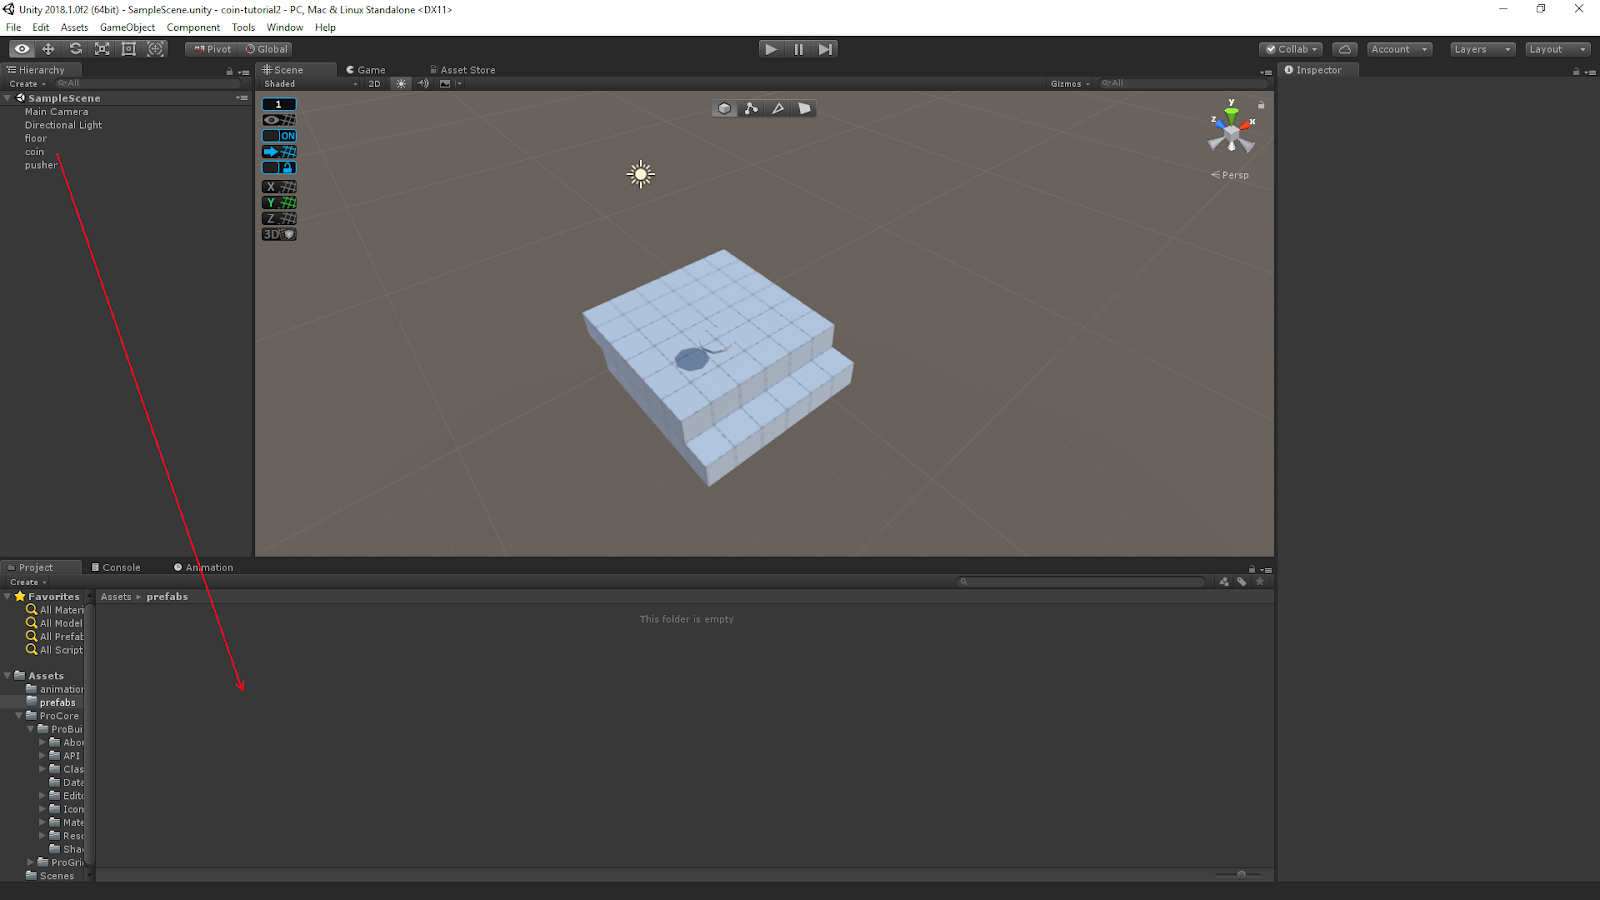
This will create a 'coin' entry in the folder view
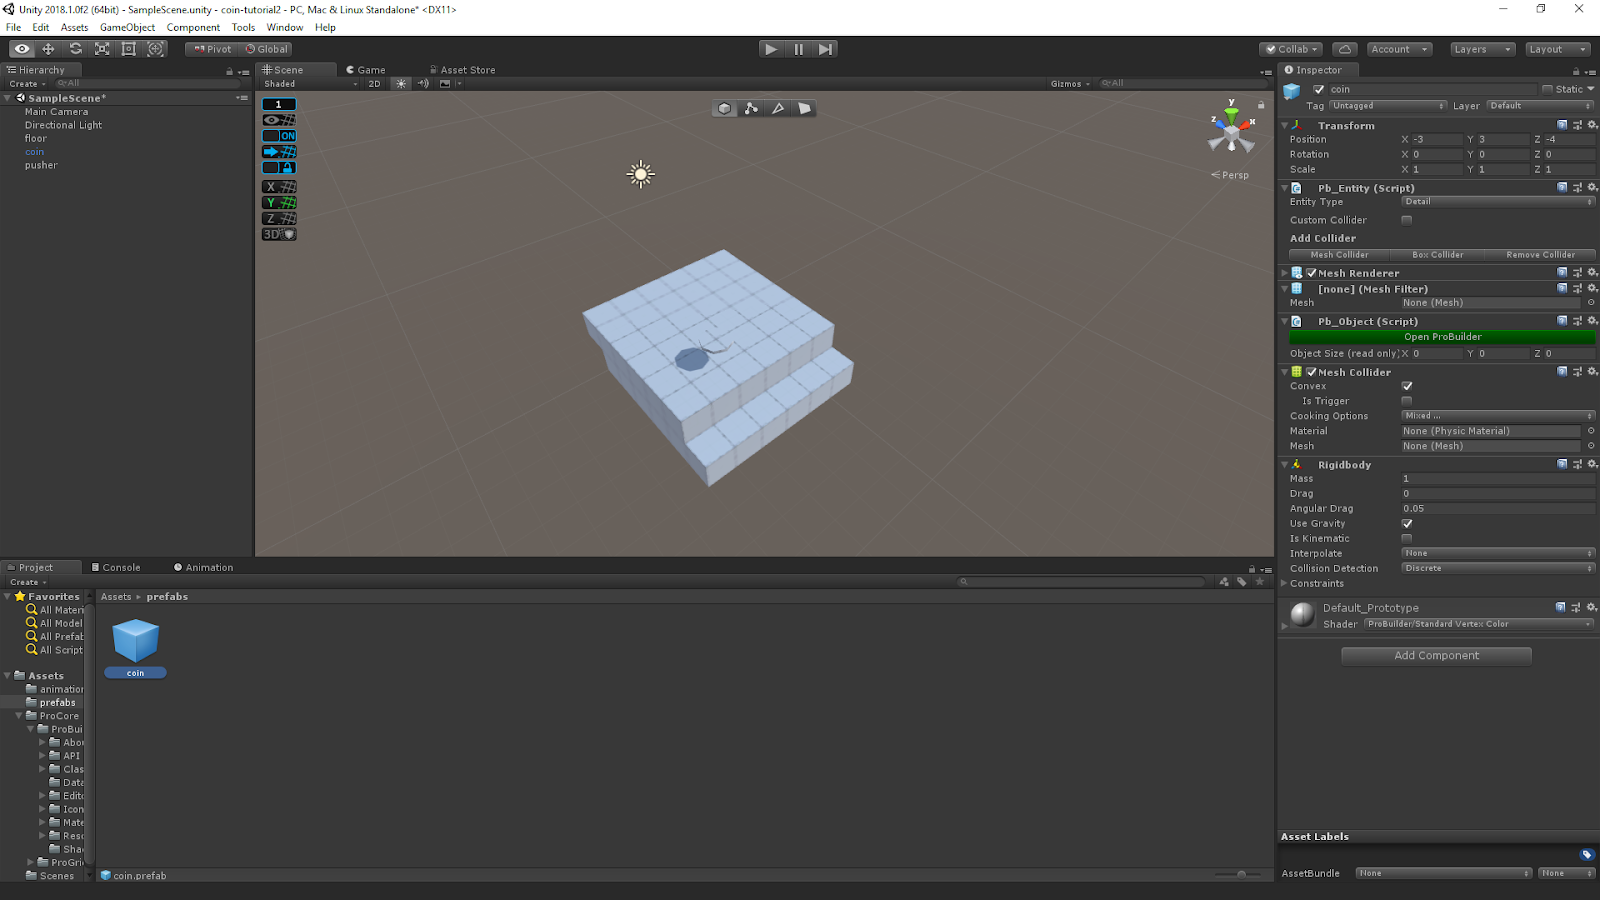
This 'coin' file in the folder view is now a Prefab file. It will have been selected and it's values will show up in the Inspector.
The 'coin' in the Hierarchy will now also be linked to the 'coin' Prefab. So you can make changes to the Prefab and they will be reflected in the instance in the hierarchy. However, the hierarchy is set up nicely for now so best to leave it alone. To indicate that there is a prefab, the Hierarchy object changes colour, for me this is blue.
So we have a 'coin' prefab… what we gonna do with it?
Nothing quite yet, but it is severely important for later.
The next thing we are going to need is what I like to call a 'Spawner'. It's the object that is going to 'Spawn' another object.
This 'Spawner' doesn't even need to be visible. It just needs a position.
For this we can create an empty GameObject.
So, from the Hierarchy, right-click on the root 'Scene' object, which is called 'SampleScene' originally, but it's the top-most object in the Hierarchy.
In the PopupMenu, Select GameObject > Create Empty and a new GameObject with only a position will be created. Rename this GameObject to spawner

Move the object, which only was visible axes in the Scene, to roughly where the coin is. This should be doable by just using the Green/Y arrow. But no… it also needs the 'Green' plane to move it backwards too.
Another way is to copy the parameters from a different object.
Select the coin. In the Inspector, right click on the "Transform" Component. Select "Copy Component". Go back to the "spawner". Right-click on the "Transform" and select "Paste Component Values". It should paste the values from the other Component into this Component.
I moved the coin to a sensible location.
Either way, you should have something similar to this:
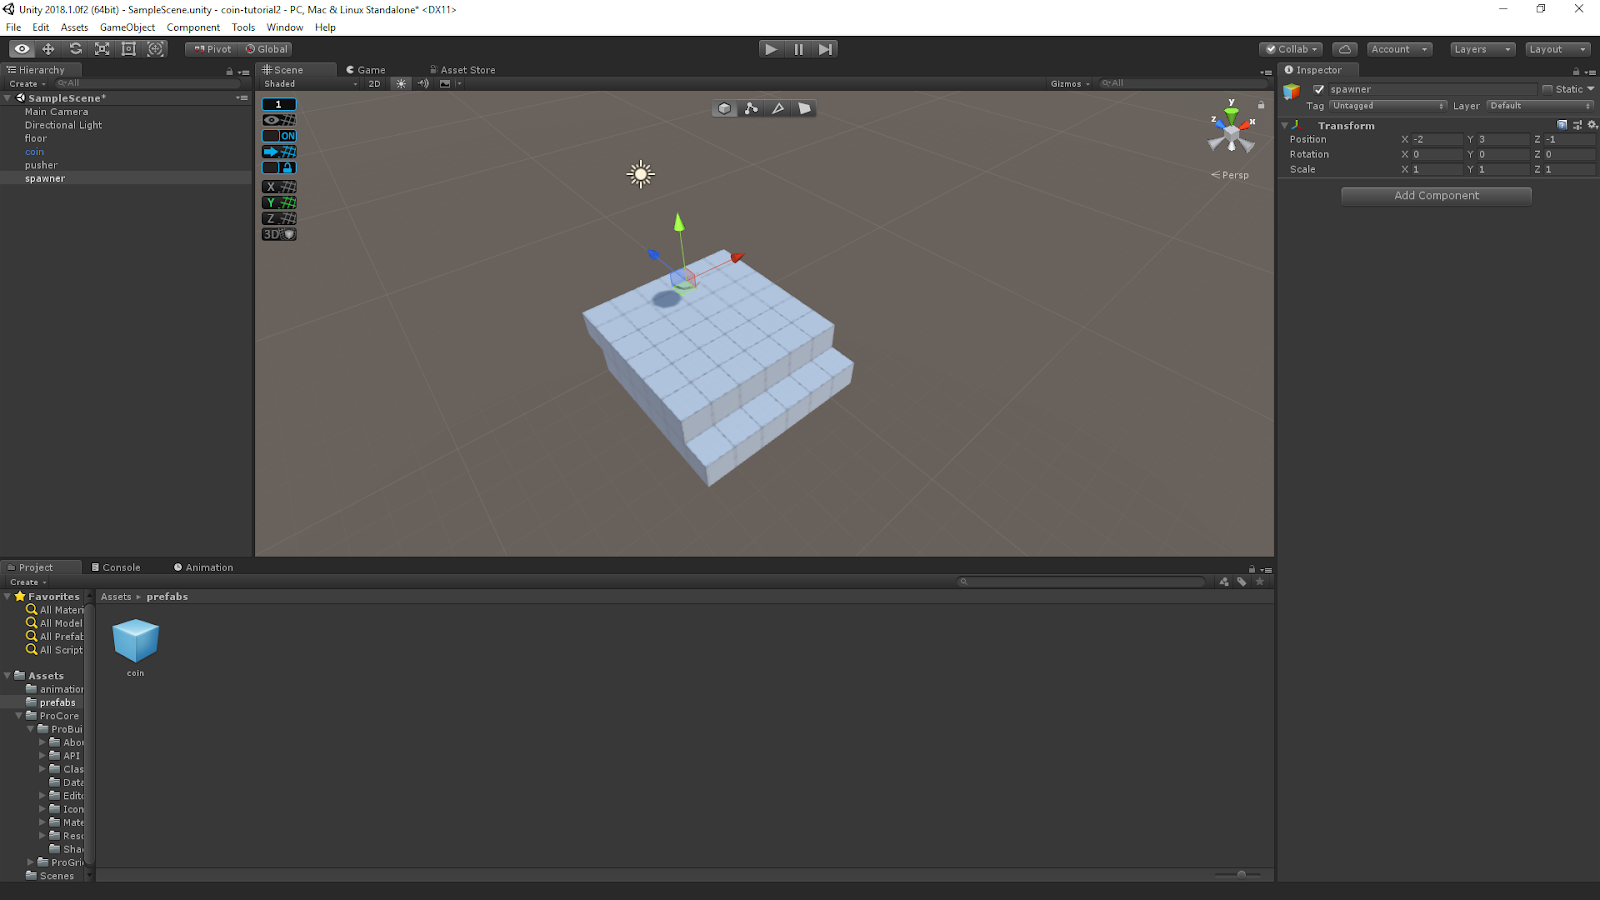
With the Axes aligned to the same place as the coin.
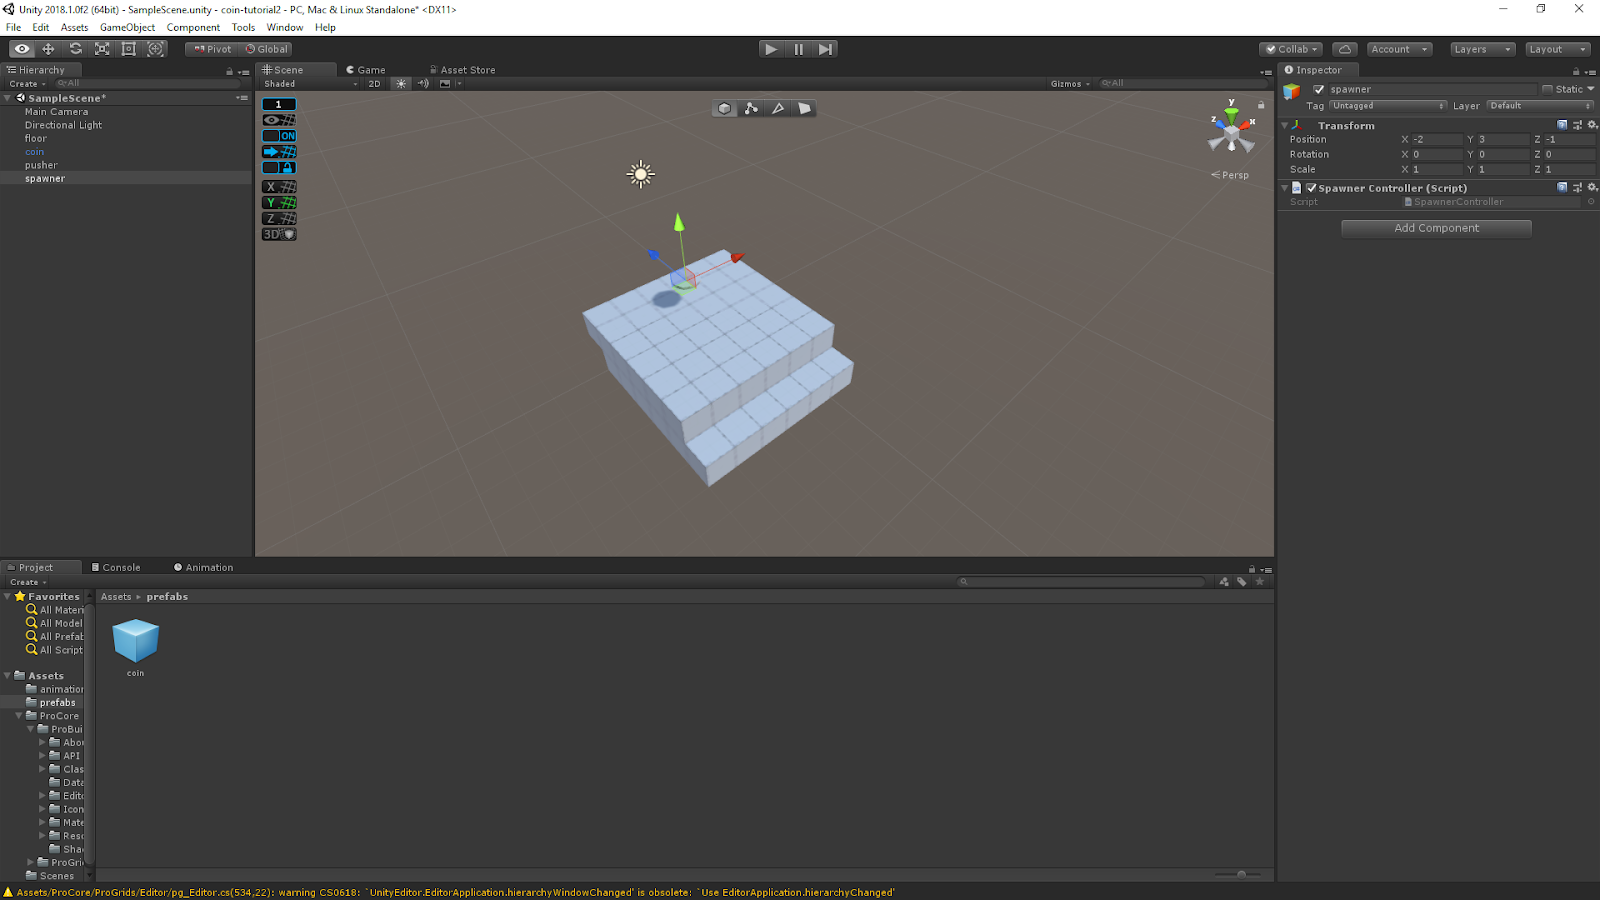
With the spawner selected, in the Inspector, click on "Add Component".
Type SpawnerController, the option of type of Component it presents will be "New Script". Press enter to confirm.
Press enter again, it will now create a C# script called SpawnerController and attach it to the GameObject as a Component.
It will have created it by default in the "Assets" directory. It is better to create a "scripts" directory here, and move the script into the directory, do that if you wish. It will keep track of the script automatically.
With the "spawner" selected still, double click on the "Script" name SpawnerController in the Inspector. Or double-click on the Script in the Folder view, to open the script. This will launch the default configured editor for Visual Studio projects. You can change the default editor in Edit > Preferences > External Tools > External Script Editor.
Git repository: https://bitbucket.org/hiveit/unity-tutorial-coin/src/008_AddingPrefabAndEmptyScript/
With the "spawner" selected still, double click on the "Script" name SpawnerController in the Inspector. Or double-click on the Script in the Folder view, to open the script. This will launch the default configured editor for Visual Studio projects. You can change the default editor in Edit > Preferences > External Tools > External Script Editor.
MonoBehaviour???
The default parent class for all Components is called MonoBehaviour. This provides all the functionality required for a normal Component, including access to the Unity lifecycle.
By default you are presented with a class that looks like
public class SomeClass : MonoBehaviour {

  // Use this for initialization
  void Start () {
  }

  // Update is called once per frame
  void Update () {
  }
}
These two functions give a lot of functionality
Start is called when the GameObject is first enabled. It is called only once and won't be called again for this instance of GameObject
Update is, like the added comment says, called every frame update.
There are other functions and other ways of doing things, but these two functions will suffice for what we need to do.
Connecting things
Like we've said, this GameObject is going to 'Spawn' things. But how does it know what it's going to spawn?
We are going to tell it!
How?
Remember how I described Components? They can reference each other. We are going to create a reference to the GameObject we want to spawn. In this case we are going reference a prefab. The prefab we created before!
To do this, we need to create an attribute in the SpawnerController.
It needs to be public, for simplicity, and usually the best place is to define it at the top.
So within the SpawnerController class, add the following
public GameObject ObjectToSpawn;The class should now look like
public class SpawnerController : MonoBehaviour {

	public GameObject ObjectToSpawn;

	// Use this for initialization
	void Start () {

	}

	// Update is called once per frame
	void Update () {

	}
}
Save the class and go back to the Unity Editor. Wait a few moments for it to recompile and update. And select the 'spawner' object. We now have a new editable property for the Component in the SpawnerController.

Woo… it's very simple (well for simple things!).
To set the "Object to Spawn" you just drag an object… any object… onto the Text Box… in our case we want the 'coin' prefab from the "prefabs" folder. Don't select (single-click) the coin from the folder. It will change the Inspector. Just drag it directly onto the Text Box. You should end up with this when you're done:
So… we know what we're spawning… how to actually do it?
More posts in this series.
- Part 01 - Installation
- Part 02 - Concepts
- Part 03 - Navigation
- Part 04 - Git and Unity
- Part 05 - Building a project
- Part 06 - Adding some plugins
- Part 07 - Creating some objects
- Part 08 - Physics
- Part 09 - Pushing things & animation
- Part 13 - It is still too fast
- Part 14 - Coins are piling up
- Part 15 - Materials
- Part 16 - User control
- Part 17 - Keyboard input - Fire
- Part 18 - Keyboard input - Movement
- Part 19 - Deleting Coins
- Part 20 - Walls
- Part 21 - Adding a GUI
- Part 22 - Adding the GameController
- Part 23 - Scoring links with events
- Part 24 - Refining the Game - Part 1
- Part 25 - Refining the Game - Part 2
- Part 26 - Refining the Game - Part 3
- Part 27 - More refinements
- Part 28 - Slowing the user down
- Part 29 - Some more changes