Part 07 - Creating some objects.
Creating a 'floor'
To open the ProGrids window go to Tools > Window > Progrids > ProGrids window.
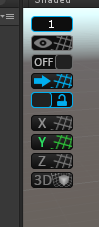
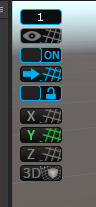
Turn on ProGrids Snapping. The third button down in the "Scene" view, in the top-left. Turn this to "On".
To open the ProBuilder window go to Tools > Window > Probuilder > ProBuilder window
In ProBuilder, click on "New Shape" (It should default to text mode instead of icon mode.)
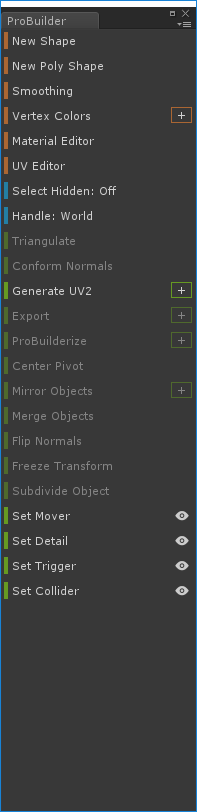
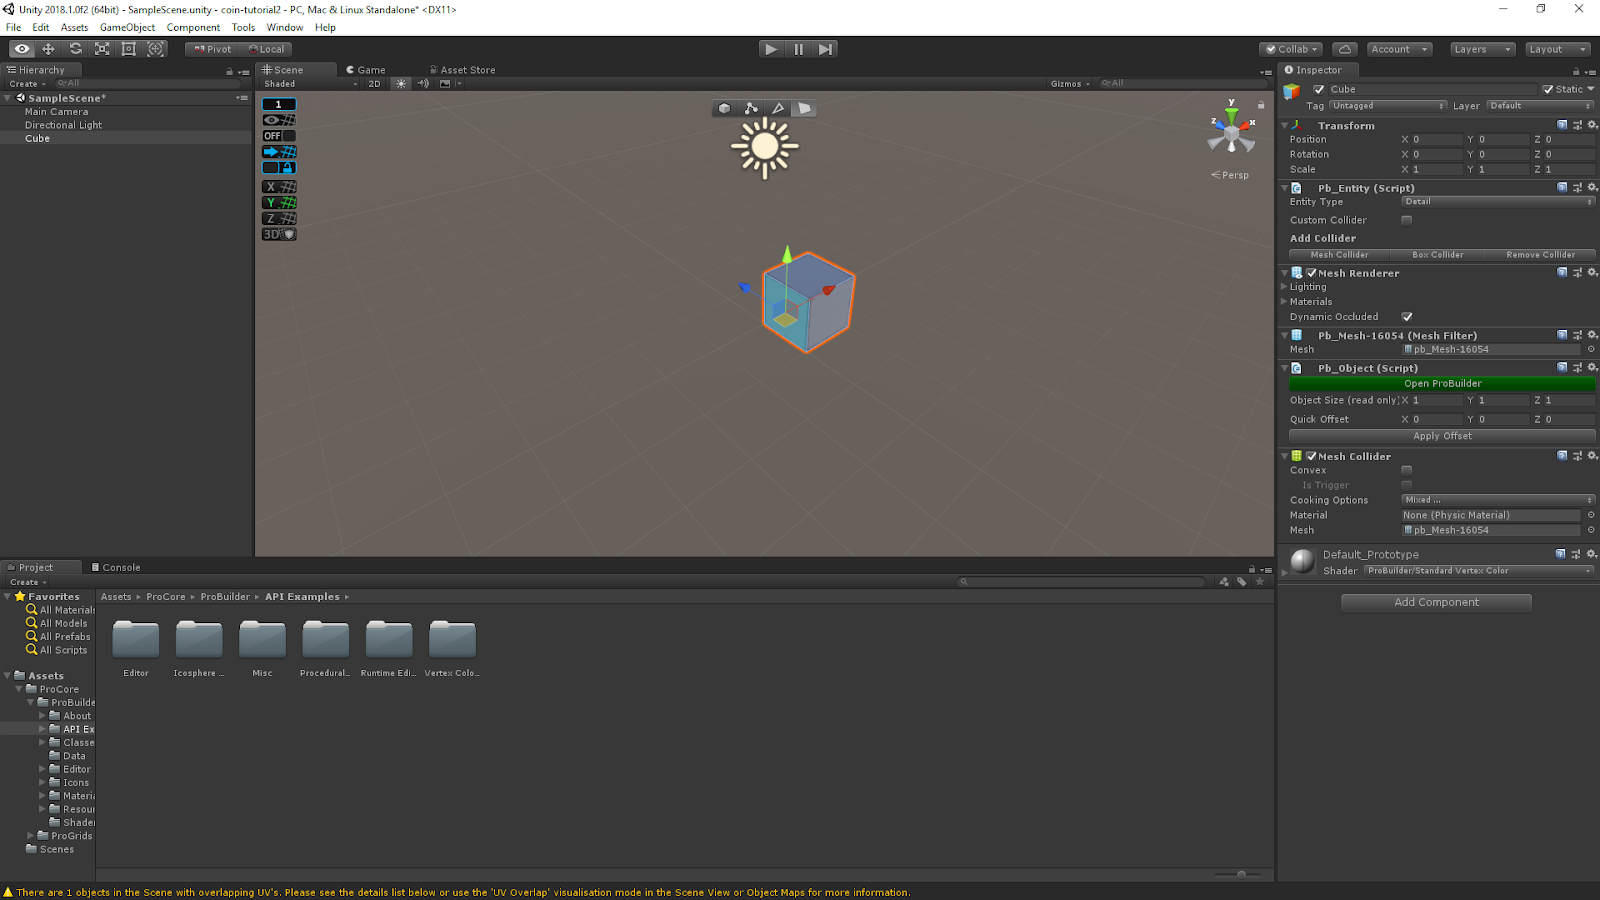
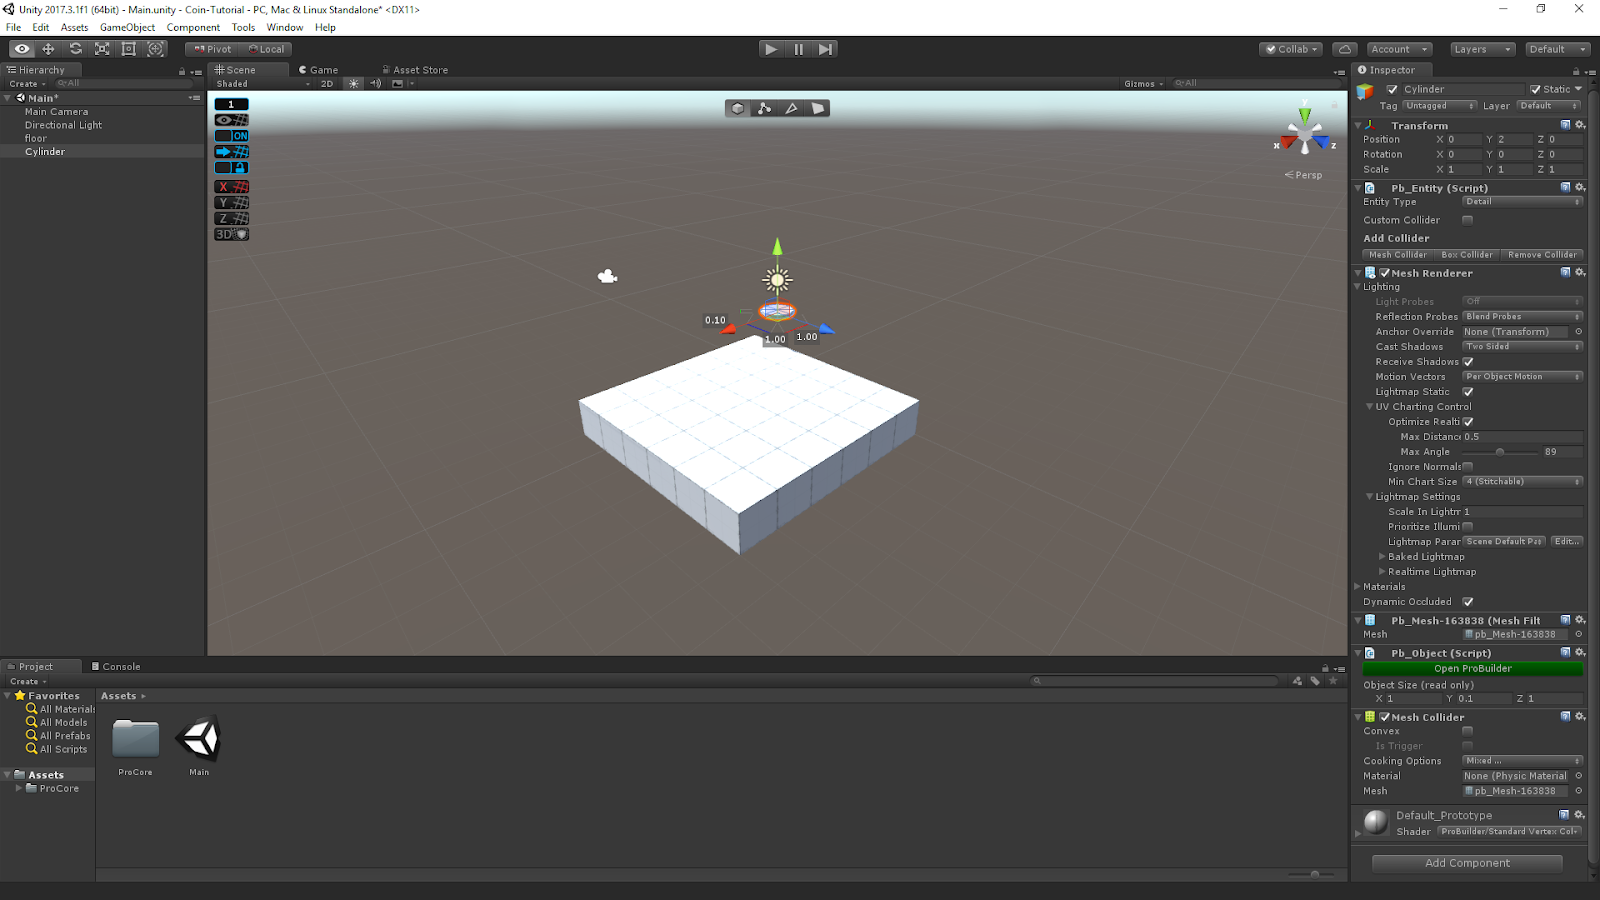
For now, just create a 1x1x1 cube, by clicking on Create Cube.
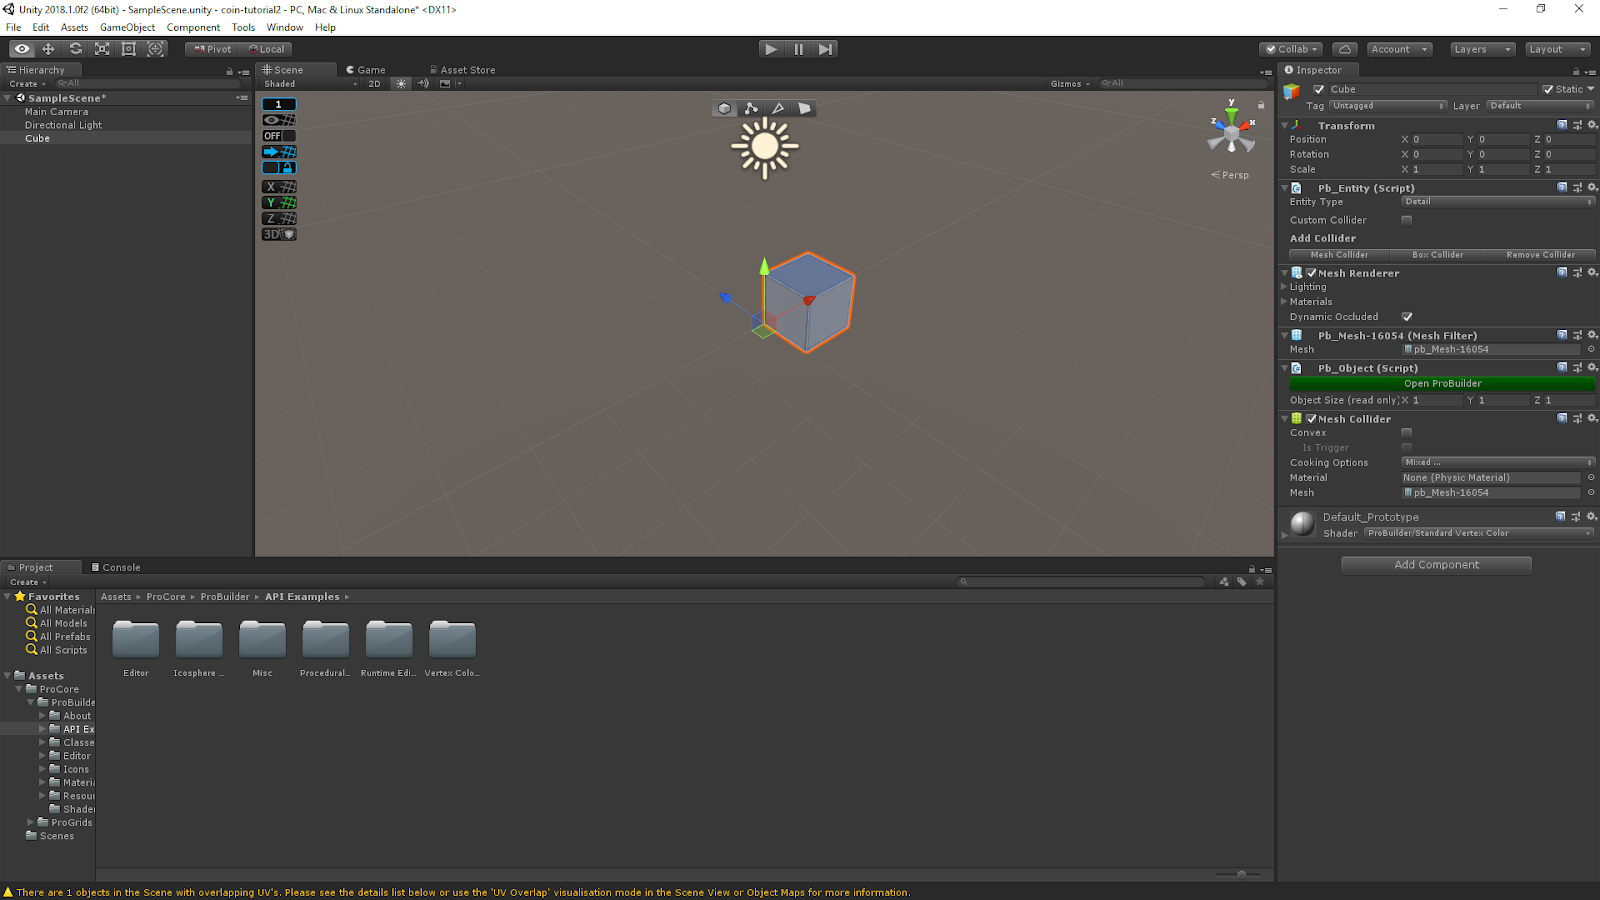
We should then have the following:
We're going to extend this cube into a flat surface by extending the surface
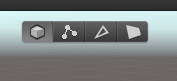
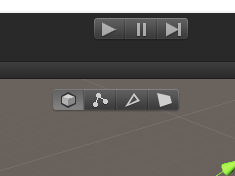
Click on the right-most tool, that looks like a flat-surface, at the top of the Scene view (these are part of ProBuilder, not Basic Unity).

These tools allow you select different parts of an object, "Whole object", "Vertex" (Point), "Edge", "Face".
We're going to select a "Face" of the cube, and drag it.
So, Select the right-most tool, the "Face" tool. So we have

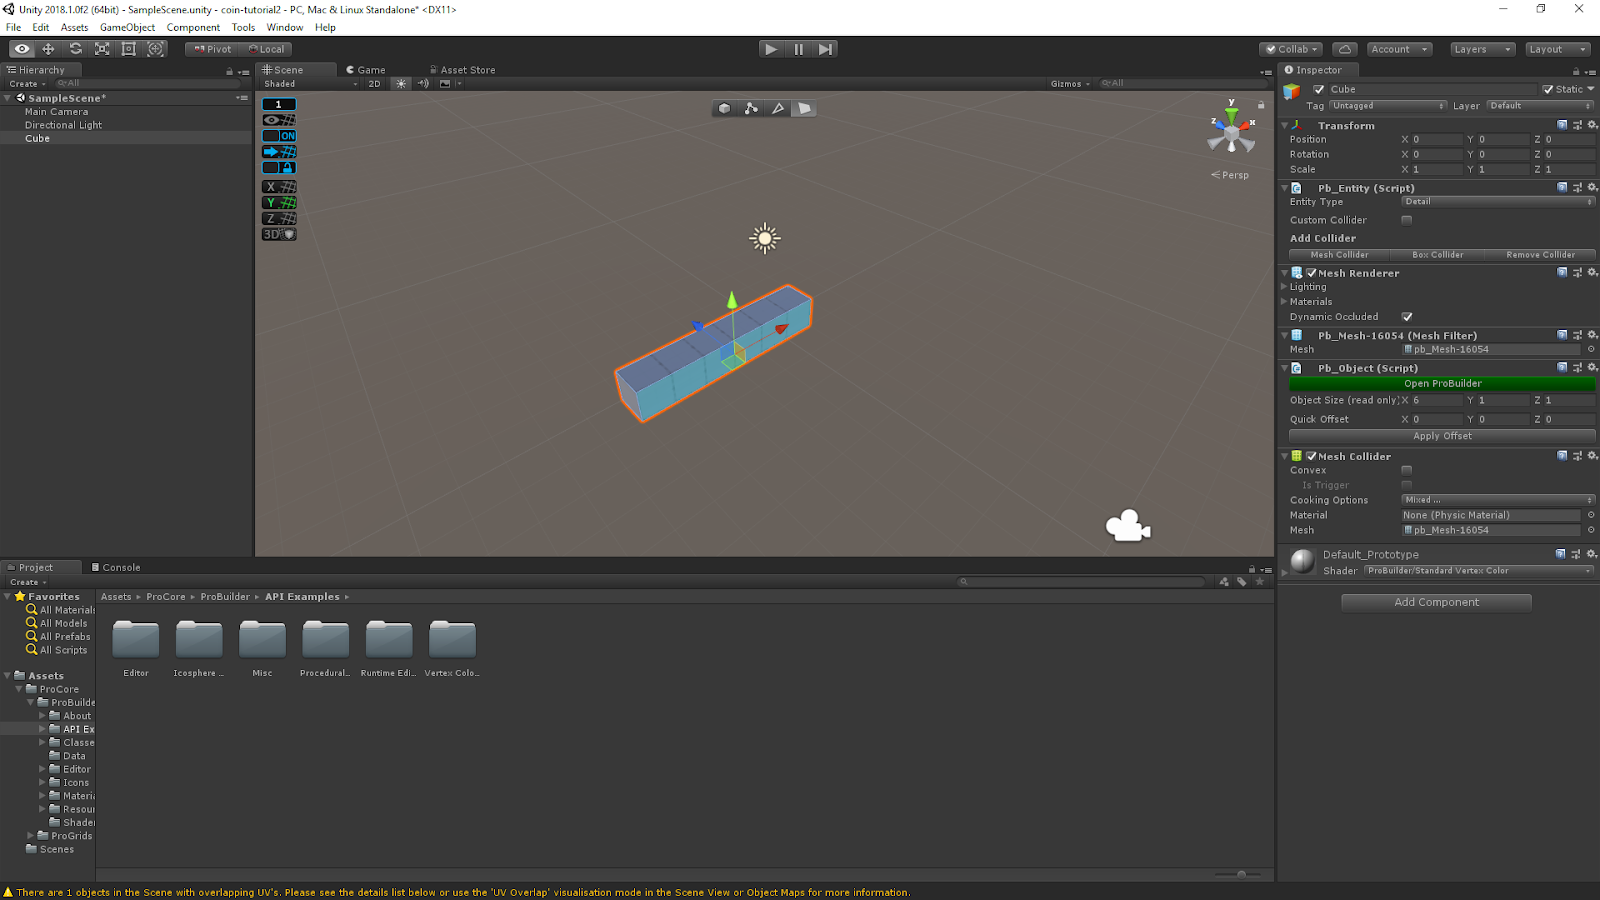
And then select the cube, then the left-face of the cube…
Now we can drag the face of the cube away, using the 'Red' (X) arrow, to extend that side of the cube… so to make it 6 units long…

Use the scroll wheel to zoom out.
And then select the near face
And drag the blue arrow (Z), to drag it away again, to make it into a rectangular surface…
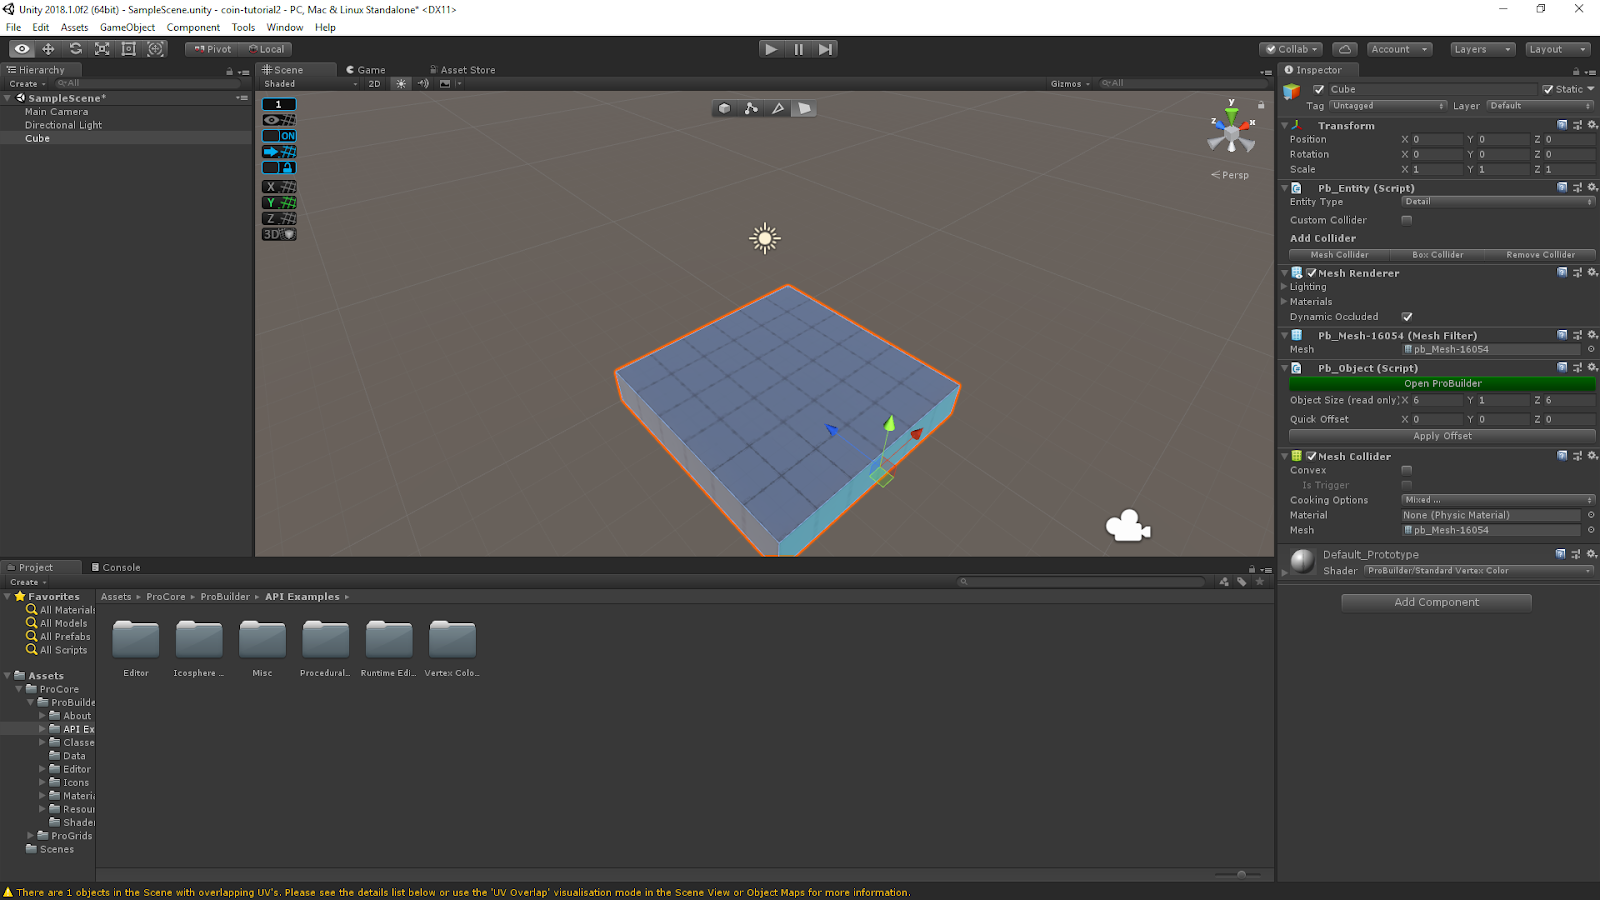
Let's rename it something more sensible!. In the Inspector, name it "floor"
Git repository: https://bitbucket.org/hiveit/unity-tutorial-coin/src/003_AddedFloor/
Creating a 'coin'
Let's make a 'coin'
We can use the ProBuilder tools to make a coin now.
Using 'New Shape' again.
However, instead of a cube, we want to create a 'Cylinder'.
Also We want to change the 'height' to 0.1.
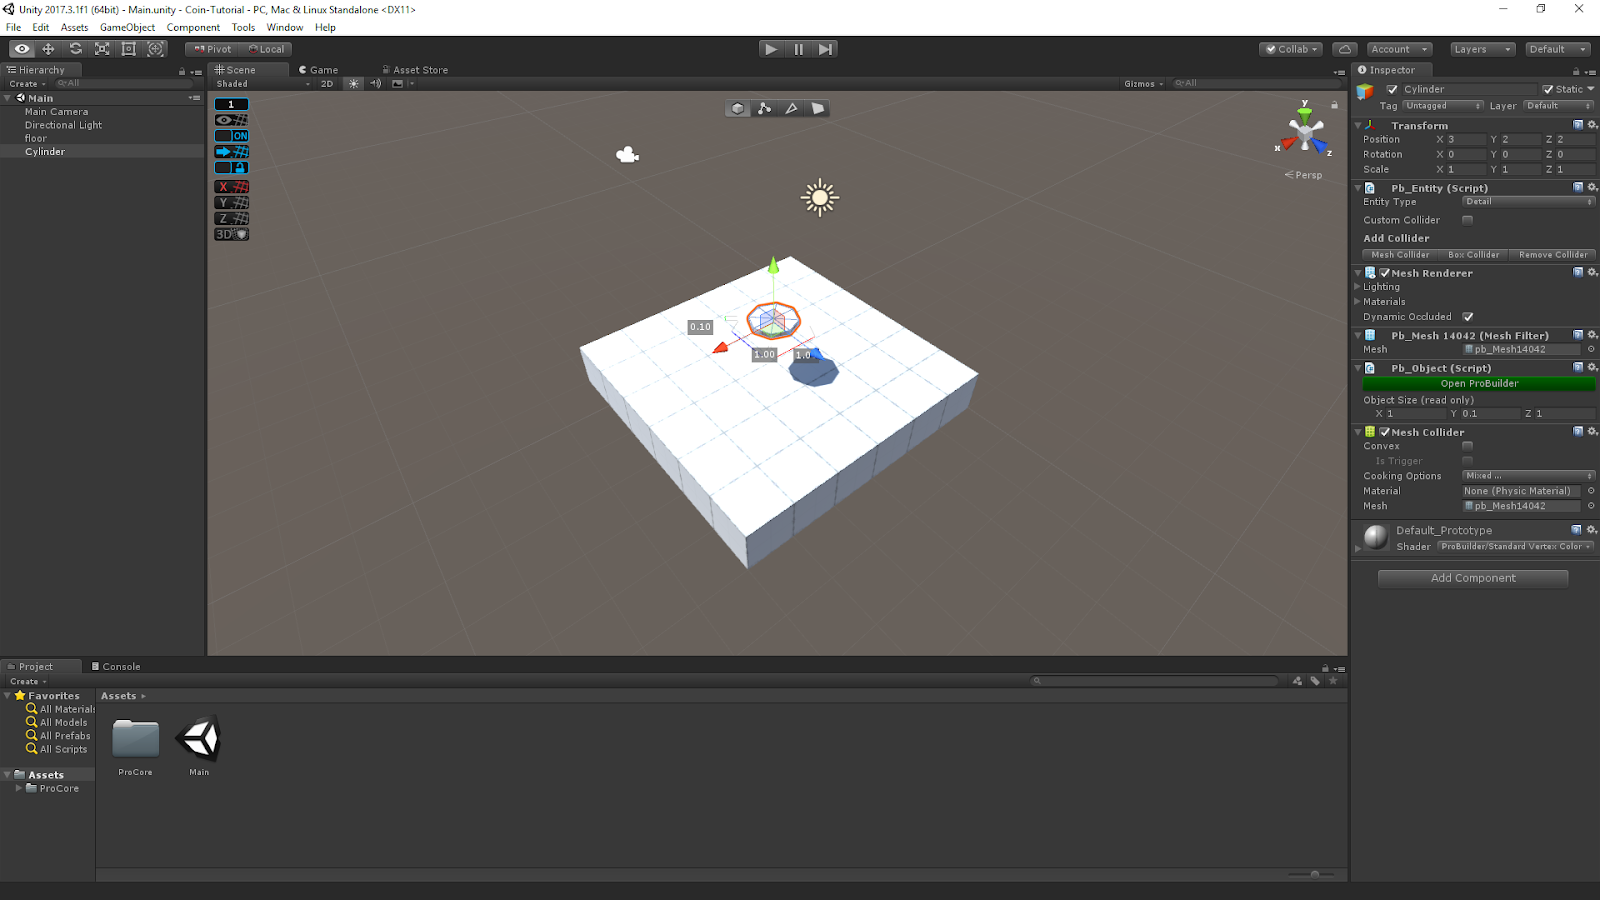
Click on Build Cylinder to create it….
But we can't see it, it's behind the "Cube" object we created.
To move the Cylinder, Click the "Object Selection" tool
And move it up the screen using the Green arrow, the 'Y' direction indicator.
Also, zoom in on the cylinder, using the mouse wheel, you will see a blue, red and green coloured 'cube' surrounding the 3D 'axes'. These around you drag in two axes instead of 3.
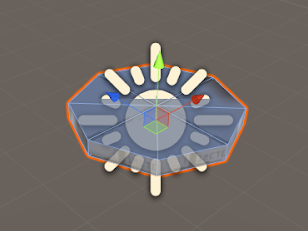
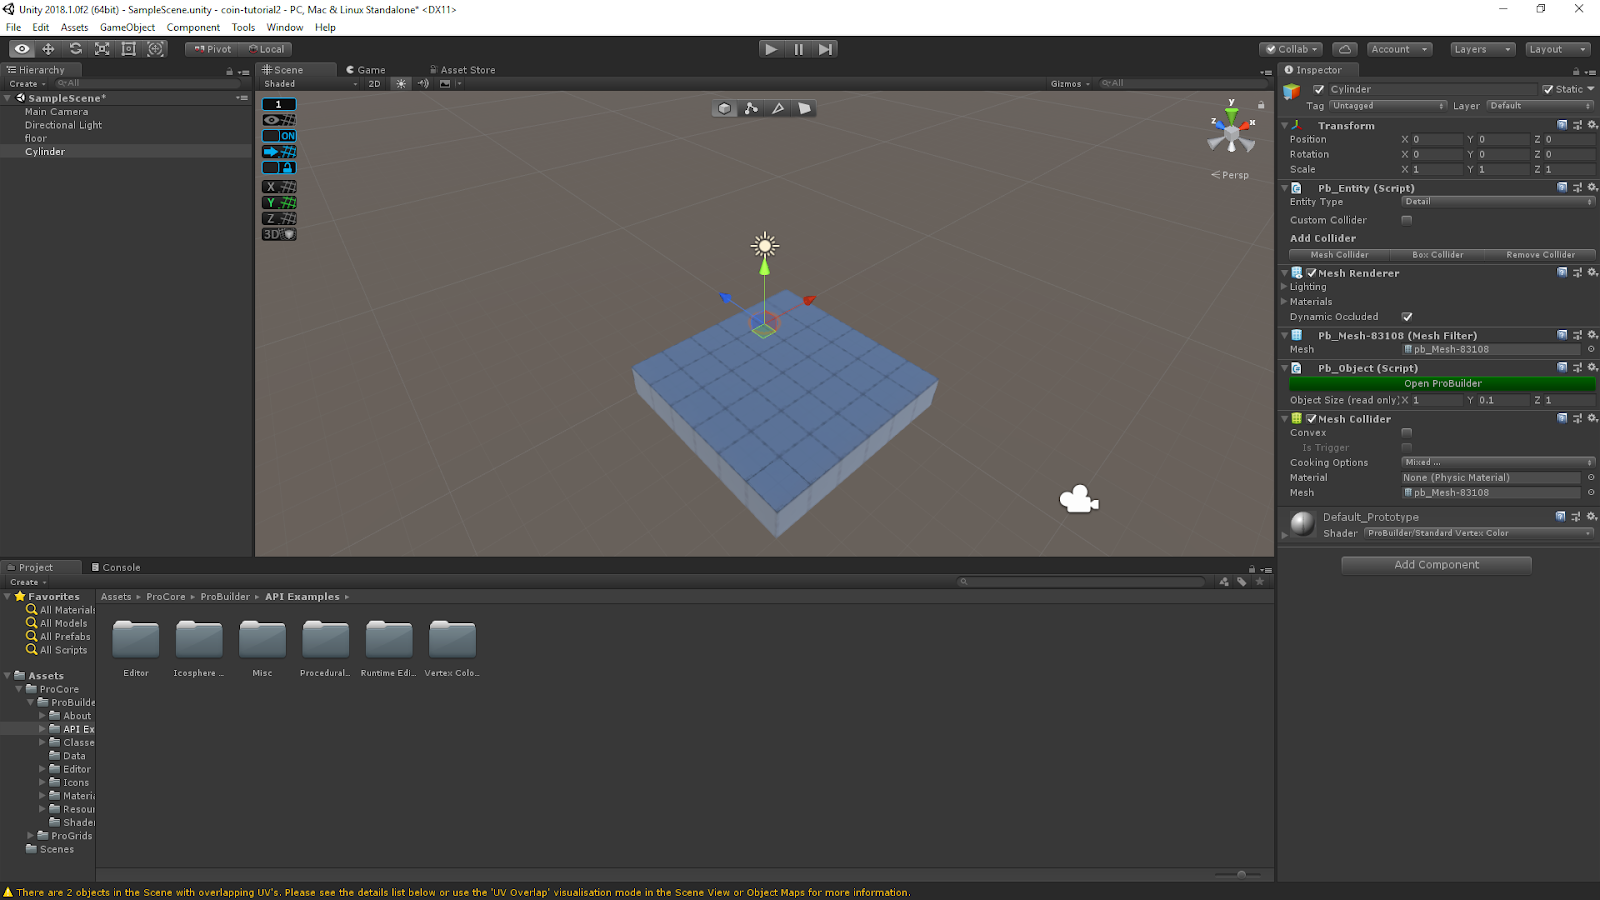
To move it around the XZ axes, and not in Y, you can drag the green square, and place it above the floor object, cos we want it to drop on it in a moment.
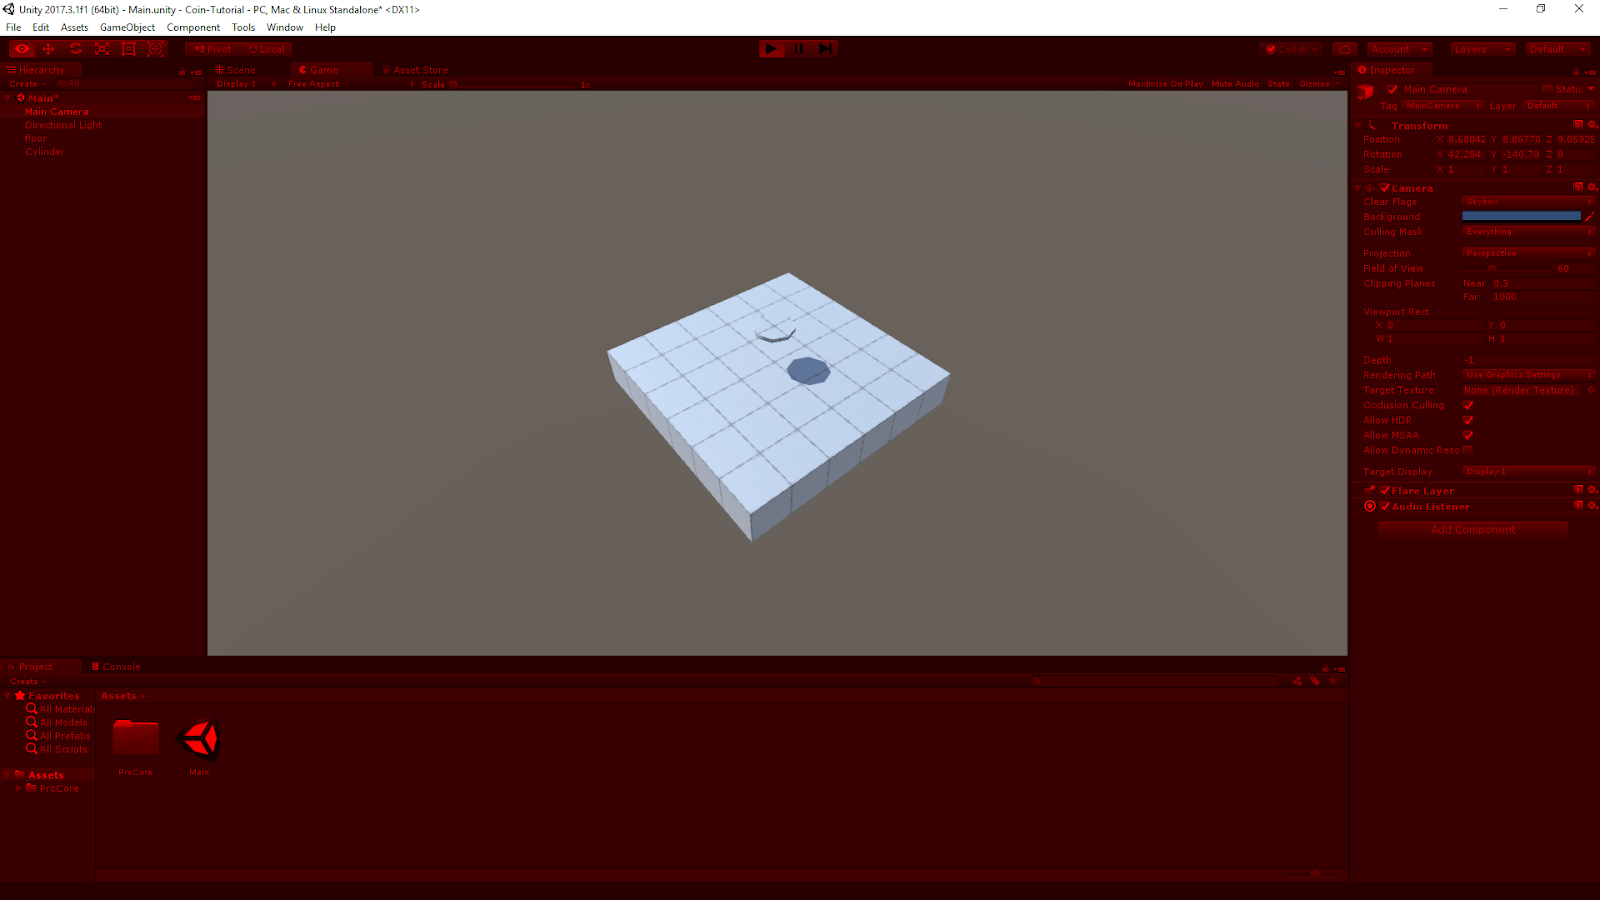
Moving it around to roughly the position shown here:
Everything's a little bright, let's turn the light down a little…
Select the "Directional Light" in the Hierarchy. In the "Inspector" find the "Intensity" value, and turn it down a little.
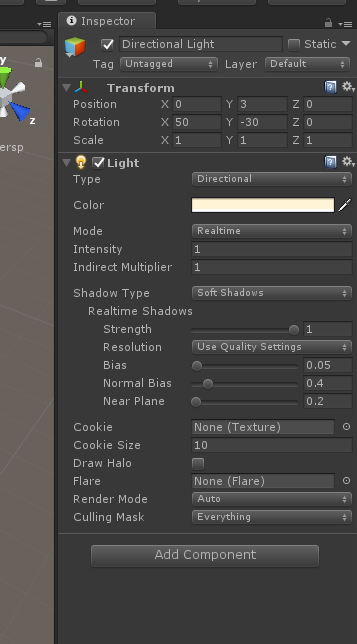
You can enter a value directly, or if you hover the mouse to the left of the Input box, you get a cursor with little left-right arrows and you can change the value by holding the mouse button and dragging left-right.
Press play… Just to see what happens…
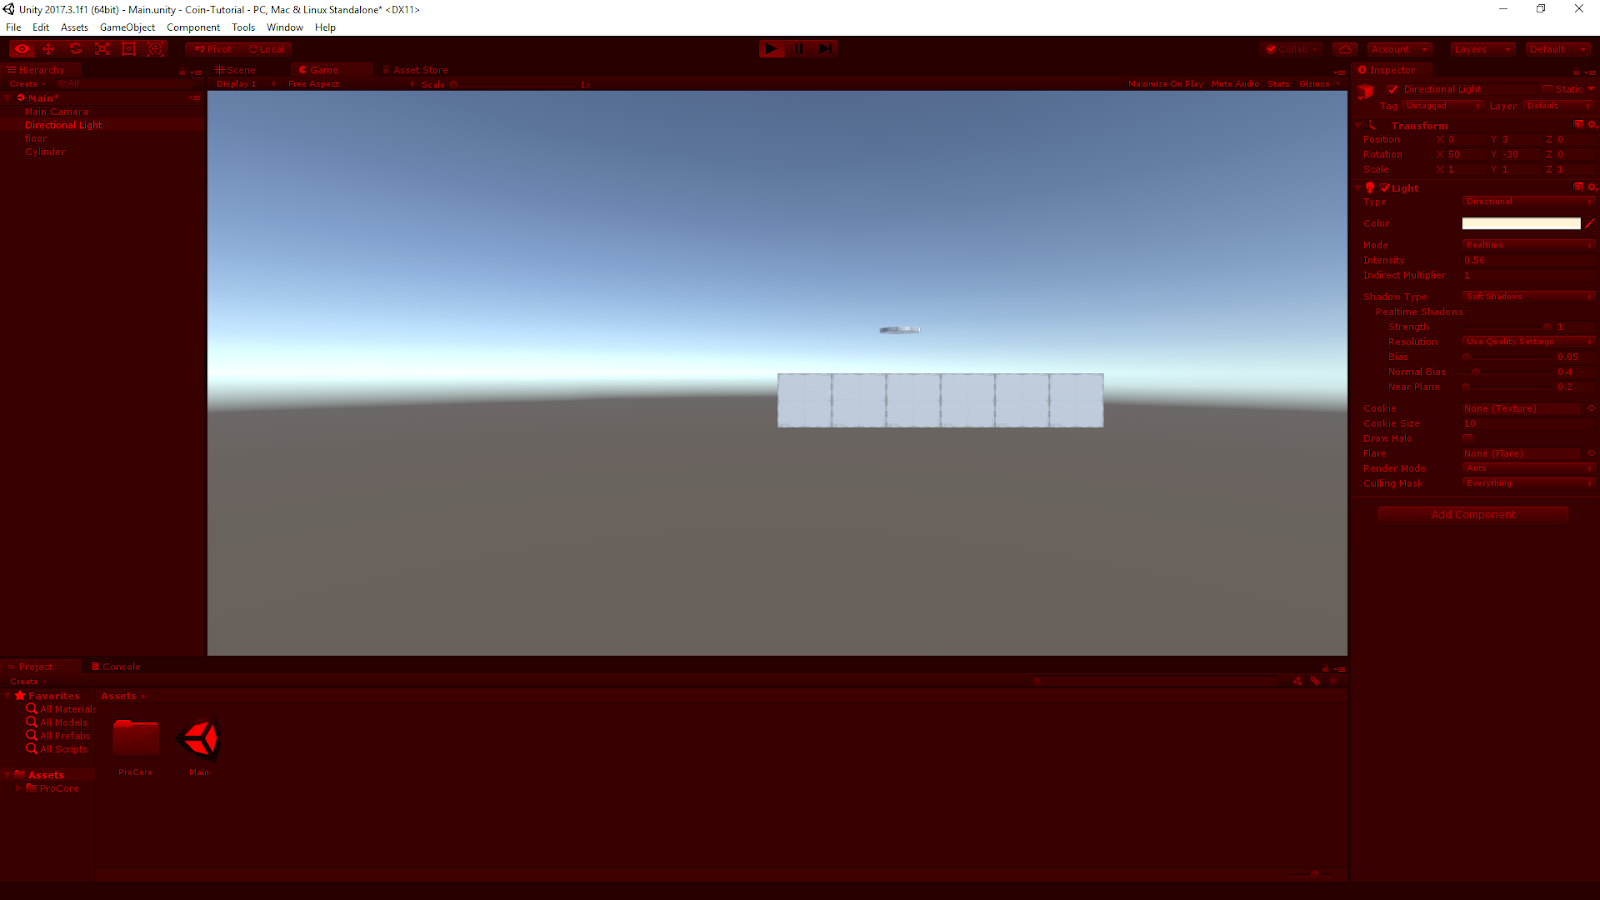
Ah… the Camera needs moving… "Why's it RED?" I changed my editor to show red when it's playing so I don't forget it's playing !!!! (There's a reason I'll explain later!).
Anyway… move the camera…
Find a view you like… I kinda like this
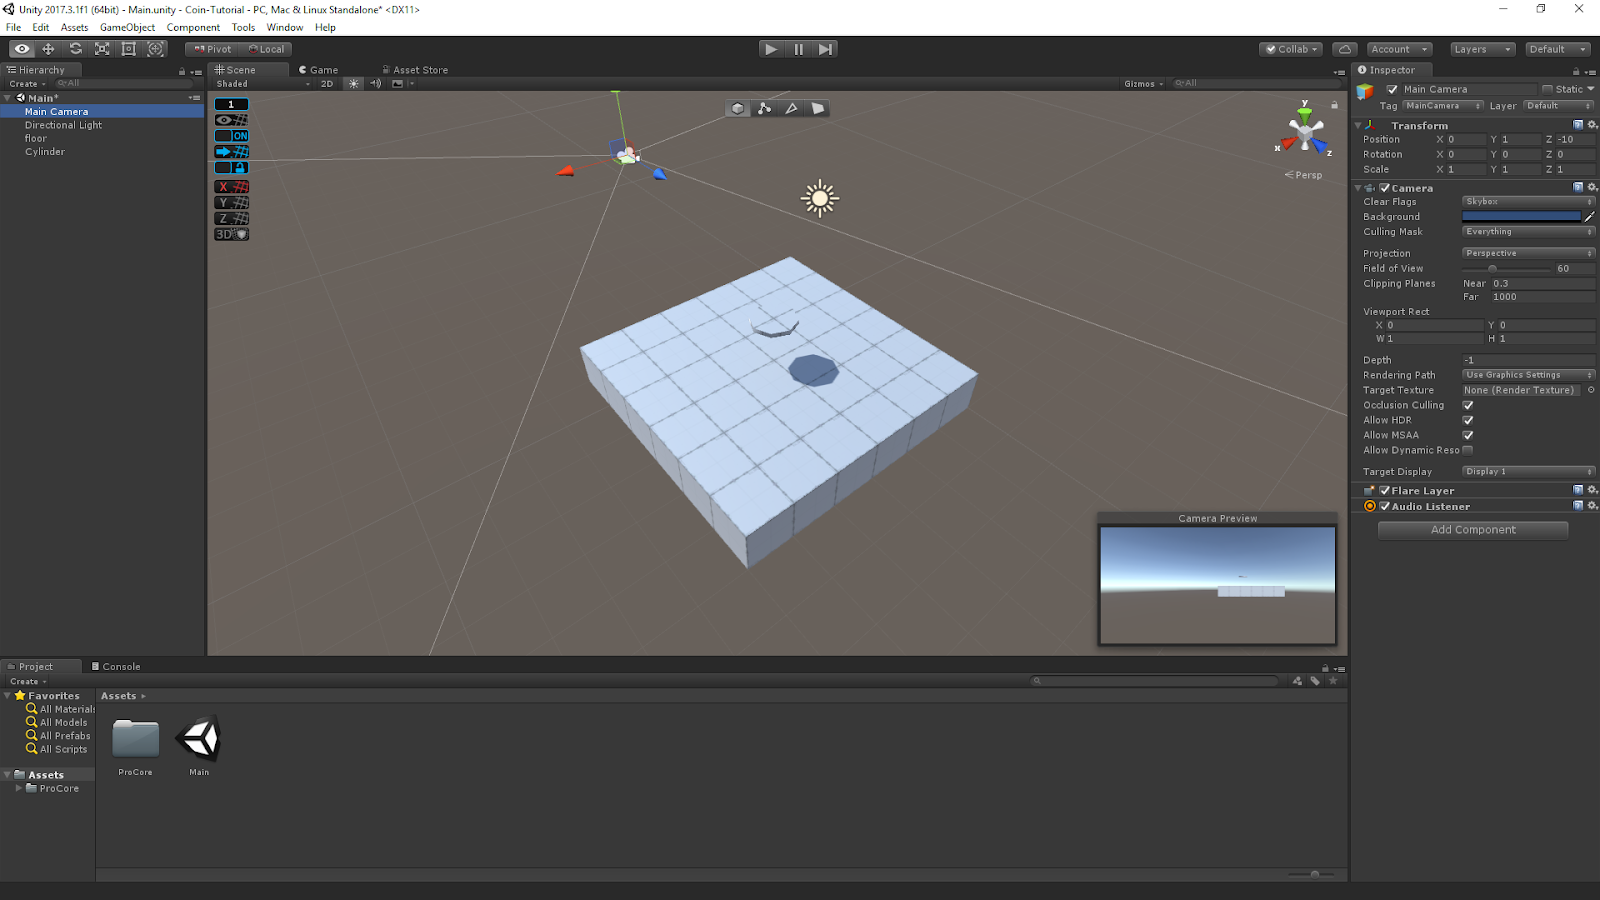
Select the Camera in the Hierarchy.
In the GameObject menu, select "Align With View" to make the currently selected object align its position and the direction it's facing with the view in the current scene.
Now… press play.
Much better.
But… nothing's moving…
We need to attach some physics to these objects.
Git repository: https://bitbucket.org/hiveit/unity-tutorial-coin/src/004_AddCoin/
More posts in this series.
- Part 01 - Installation
- Part 02 - Concepts
- Part 03 - Navigation
- Part 04 - Git and Unity
- Part 05 - Building a project
- Part 09 - Pushing things & animation
- Part 10 - Pushing coins
- Part 11 - Custom Scripting
- Part 12 - Spawning things
- Part 13 - It is still too fast
- Part 14 - Coins are piling up
- Part 15 - Materials
- Part 16 - User control
- Part 17 - Keyboard input - Fire
- Part 18 - Keyboard input - Movement
- Part 19 - Deleting Coins
- Part 20 - Walls
- Part 21 - Adding a GUI
- Part 22 - Adding the GameController
- Part 23 - Scoring links with events
- Part 24 - Refining the Game - Part 1
- Part 25 - Refining the Game - Part 2
- Part 26 - Refining the Game - Part 3
- Part 27 - More refinements
- Part 28 - Slowing the user down
- Part 29 - Some more changes