Part 7 - Review time.
Congratulations, you have applied all of the infrastructure. If you've only just completed the last part of the lab then give the EC2 instances chance to finish initialising.
Now it's time to review what has been created!
The web application should help us visually demonstrate the successful deployment of our infrastructure.
Open a web browser and navigate to the address of the load balancer that distributes traffic to our sample web application. This is the terraform subdomain of your domain name, e.g. https://terraform.example.com.
You should find that you are redirected to the Sign In page. Hoorah!
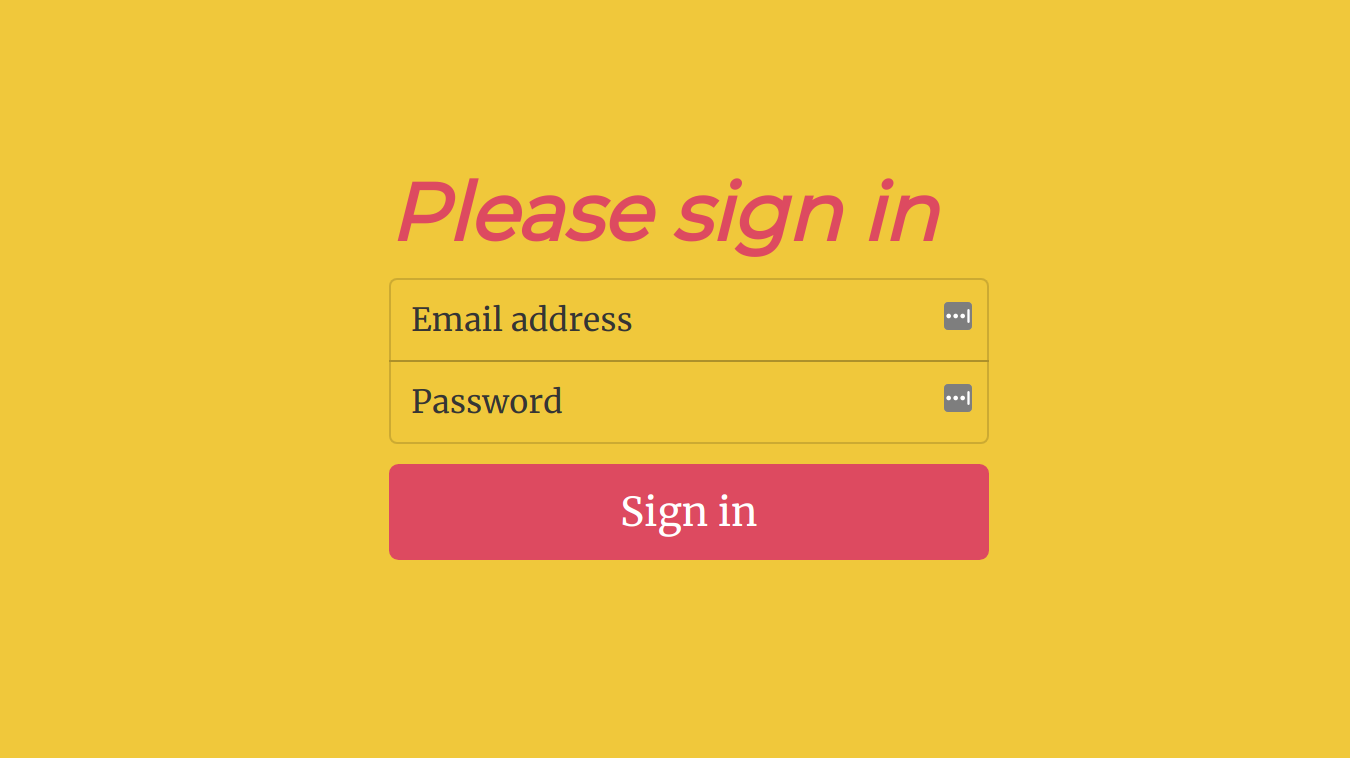
The application has a database dependency to demonstrate database connectivity with our MySQL instance in RDS. There is one sample user in the database that we can use to sign in:
Username: john@smith.com
Password: password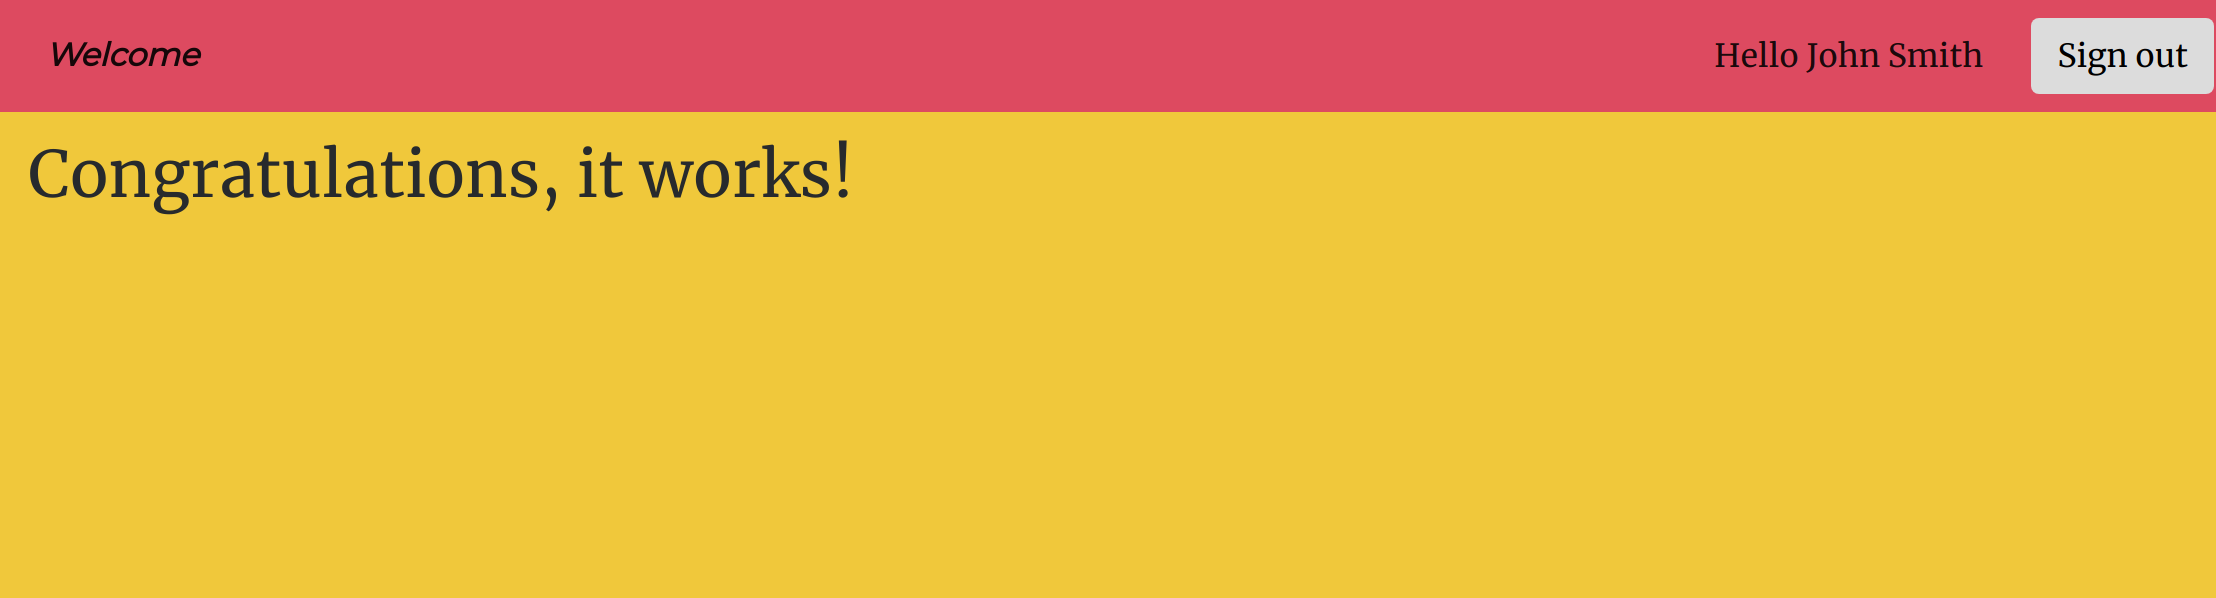
AWS Resources
Let's review the resources that have been created using the various AWS web consoles:
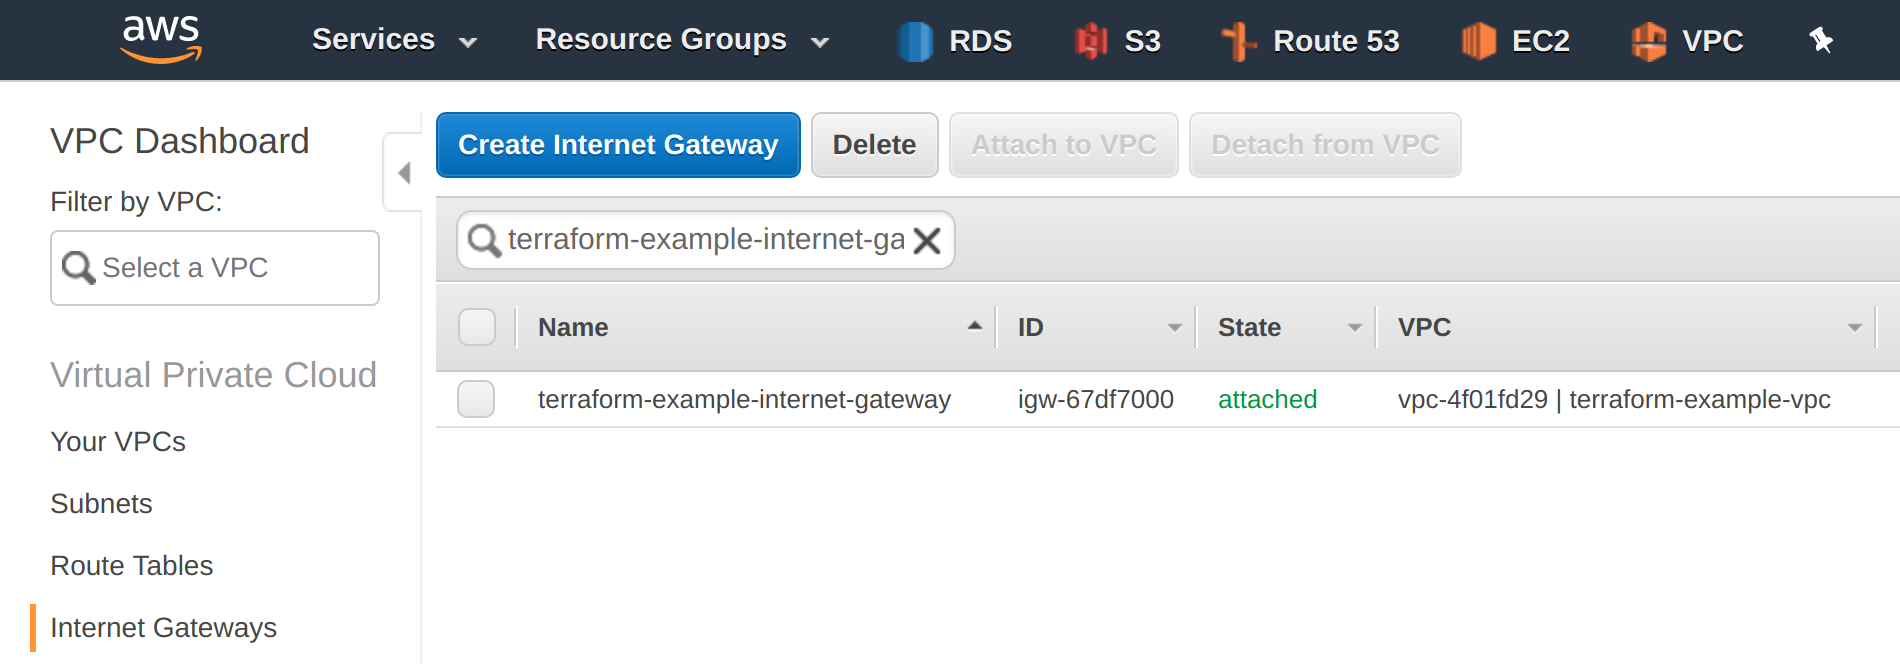
In the VPC dashboard there should be a dedicated VPC to isolate resources in our own virtual network.

The VPC should have an internet gateway.
Within the VPC there should be subnets in each availability zone for our web server instances and for RDS.

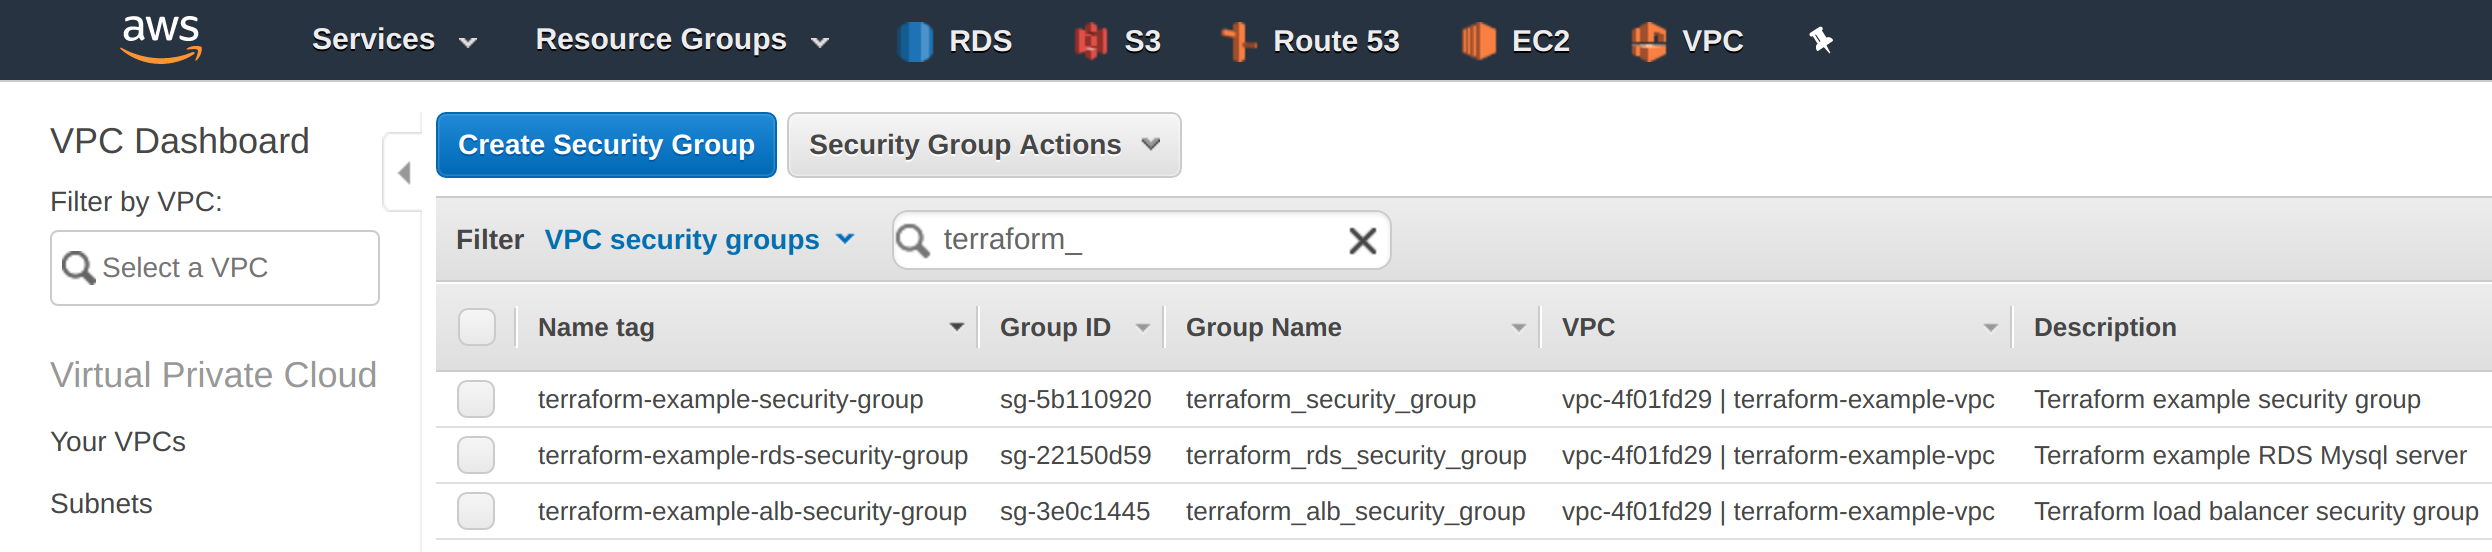
There should be a security group for our web server instances, the application load balancer, and RDS.
Within the RDS console we can find the MySQL instance with the same VPC identifier. You can also check the RDS subnet group and the RDS parameter group in this console.

Open the EC2 dashboard. Here we should have the Application Load Balancer. Inspecting the contents of the Listeners tab should reveal our two load balancer listeners, one for HTTP, and the one for HTTPS with our SSL certificate. Both have a link to the target group.

The listener target group.

Inspecting the Targets tab shows the registered instances, how they are spread across the availability zones and their health status.
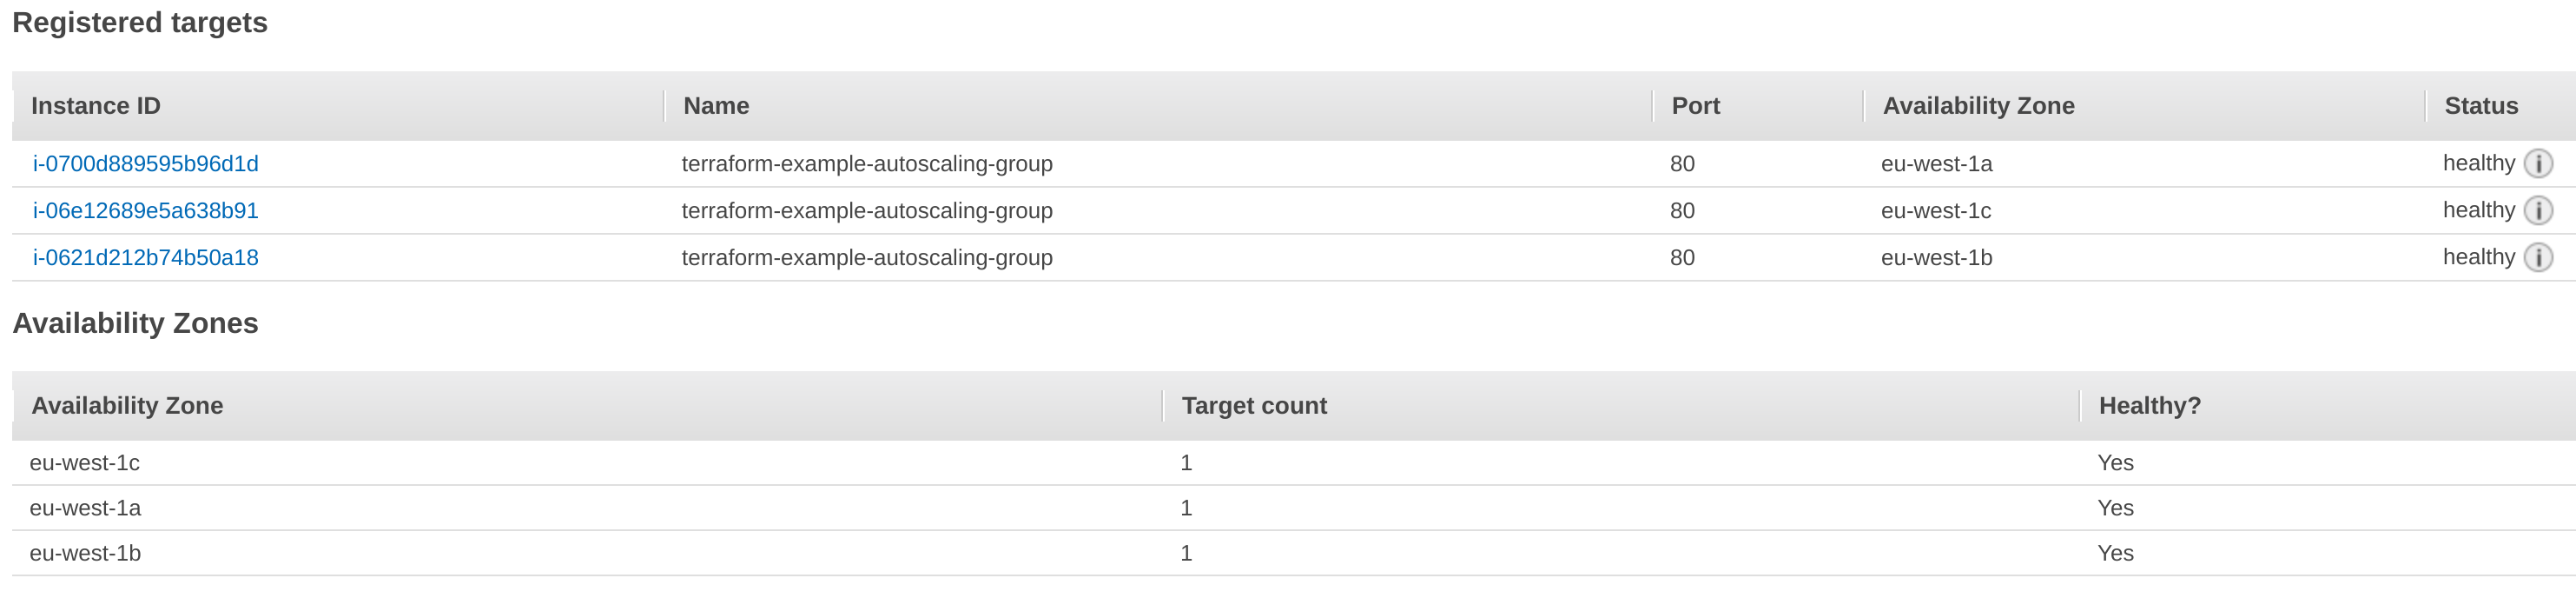
The Instances view in the EC2 dashboard should reveal the same targets.

In the EC2 dashboard you can also check the Key Pair, Launch Configuration, and Auto Scaling Group.
In the Route 53 dashboard we can see the alias record for our application load balancer using the terraform hostname.

SSH Access
We enabled inbound SSH traffic to the instances from our list of allowed CIDR blocks.
From an allowed IP address we can connect to any of the instances. We are using the Amazon Linux machine image so connect as user ec2-user.
$ ssh ec2-user@[ip-address]Enter the secure passphrase for the SSH key if you set one.
       __|  __|_  )
       _|  (     /   Amazon Linux AMI
      ___|\___|___|

https://aws.amazon.com/amazon-linux-ami/2017.09-release-notes/
[ec2-user@ip-10-0-1-111 ~]$
From the terminal we can see the executable Spring Boot application file and its configuration file.
[ec2-user@ip-10-0-1-111 ~]$ ls -l /opt/springboot-s3-example/
total 35588
-r-------- 1 springboot springboot 193 Jan 17 13:47 springboot-s3-example.conf
-r-x------ 1 springboot springboot 36436139 Jan 16 15:38 springboot-s3-example.jar
Success!
Hopefully you have managed to reach this far and have a successful deployment. Let's conclude with what we achieved!
We have used Terraform to deploy a web application using AWS infrastructure that is:
- Isolated in a VPC
- Load balanced
- Auto scaled
- Secured by SSL
- DNS routed with Route53
- Restricted to traffic from a list of allowed IP addresses
- Accessible by SSH
Time to tidy up
Destroy the resources now to ensure that you don't receive any unexpected charges. Similar to a plan, this will show you a preview of all the resources that are going to be modified. Whenever you are ready:
$ terraform destroy -var-file="user.tfvars"

Terraform will perform the following actions:

- aws_alb.alb
- aws_alb_listener.listener_http
- aws_alb_listener.listener_https
- aws_alb_target_group.group
- aws_autoscaling_group.autoscaling_group
- aws_db_instance.default
- aws_db_parameter_group.default
- aws_db_subnet_group.default
- aws_internet_gateway.gateway
- aws_key_pair.deployer
- aws_launch_configuration.launch_config
- aws_route.route
- aws_route53_record.terraform
- aws_security_group.alb
- aws_security_group.default
- aws_security_group.rds
- aws_subnet.main[0]
- aws_subnet.main[1]
- aws_subnet.main[2]
- aws_subnet.rds[0]
- aws_subnet.rds[1]
- aws_subnet.rds[2]
- aws_vpc.vpc

Plan: 0 to add, 0 to change, 23 to destroy.

Do you really want to destroy?
Terraform will destroy all your managed infrastructure, as shown above.
There is no undo. Only 'yes' will be accepted to confirm.
Answer yes to destroy the infrastructure. This will take approximately five minutes to complete.
Finally, what happens if the web server build file you want to copy is not public? We have one more section to cover this in case your interested. See part eight - A note on S3 access.
Congratulations, you have completed this lab!
You can find all the source code for this lab in the Terraform AWS VPC Example project in GitHub.